The Countdown Begins – Trailer Update

I’ve been a bad blogger and not been keeping people up to date. Mainly because I haven’t left yet and my brain seems to think we should not be rambling on about stuff until we leave. But I’ve performed an override and here to update you all on the ongoing “fun” I’m having getting this old tin beast of a trailer ready for the adventure of it’s life-time. Not sure about me yet, … Ah hell, I’m always ready.

So as a catch up. I bought the trailer last summer and had originally planned to leave here at Christmas. Yeah, there’s many reasons that wouldn’t have been a good idea but the fact that trailer wasn’t ready and the cost of it set my budget back a bit were the main ones.

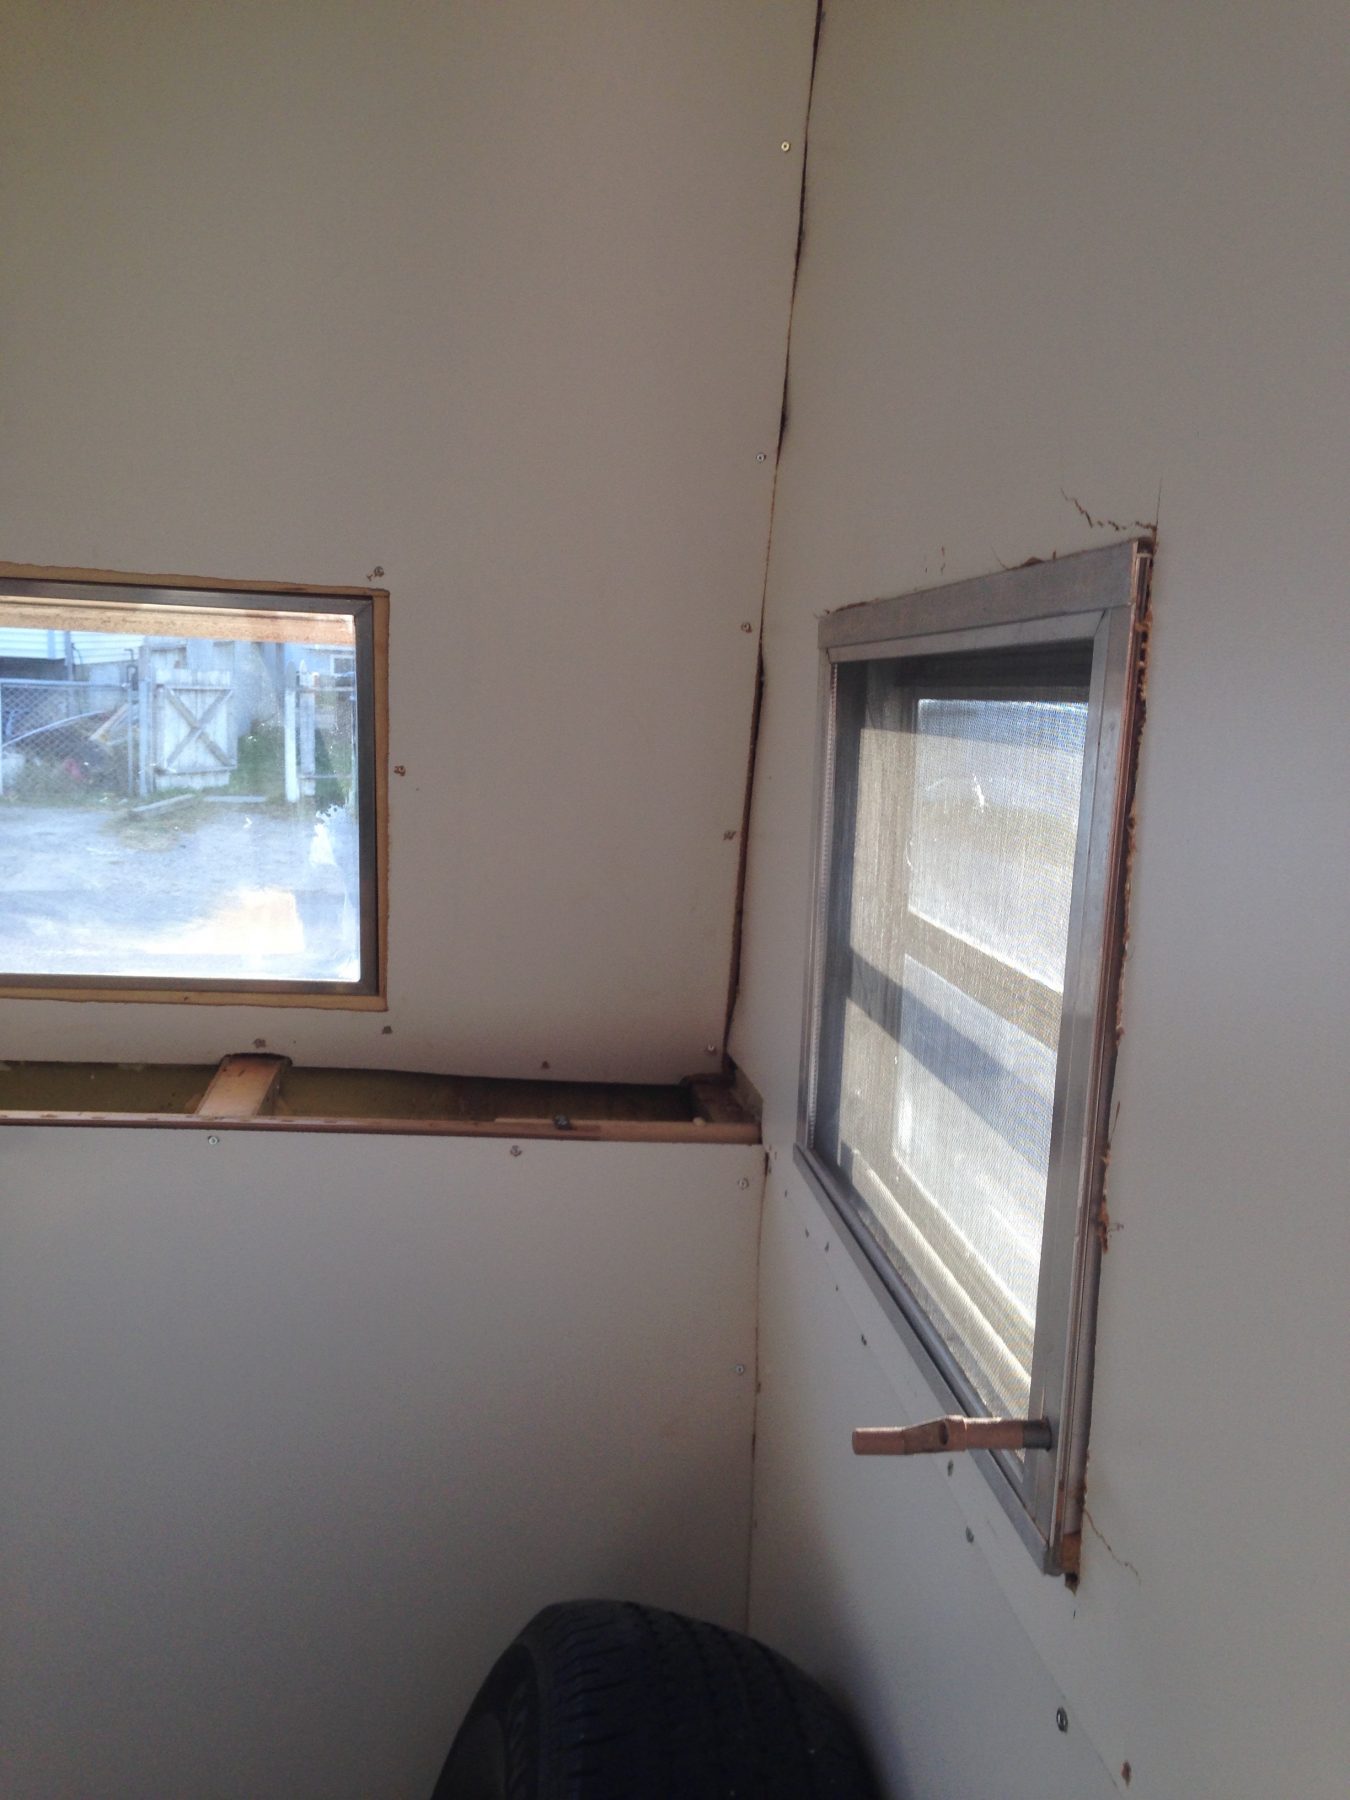
The first good rain we had here I went out to inspect her potential for dryness. I was soon greeted with little streams of water in the front portion of the trailer. One on the left of the front window, one in the right corner about 2/3rds the way up the right wall. I “assumed” that the left one was a leak around the window seal and that the right one was somehow the roof. I was completely wrong, more on that later.

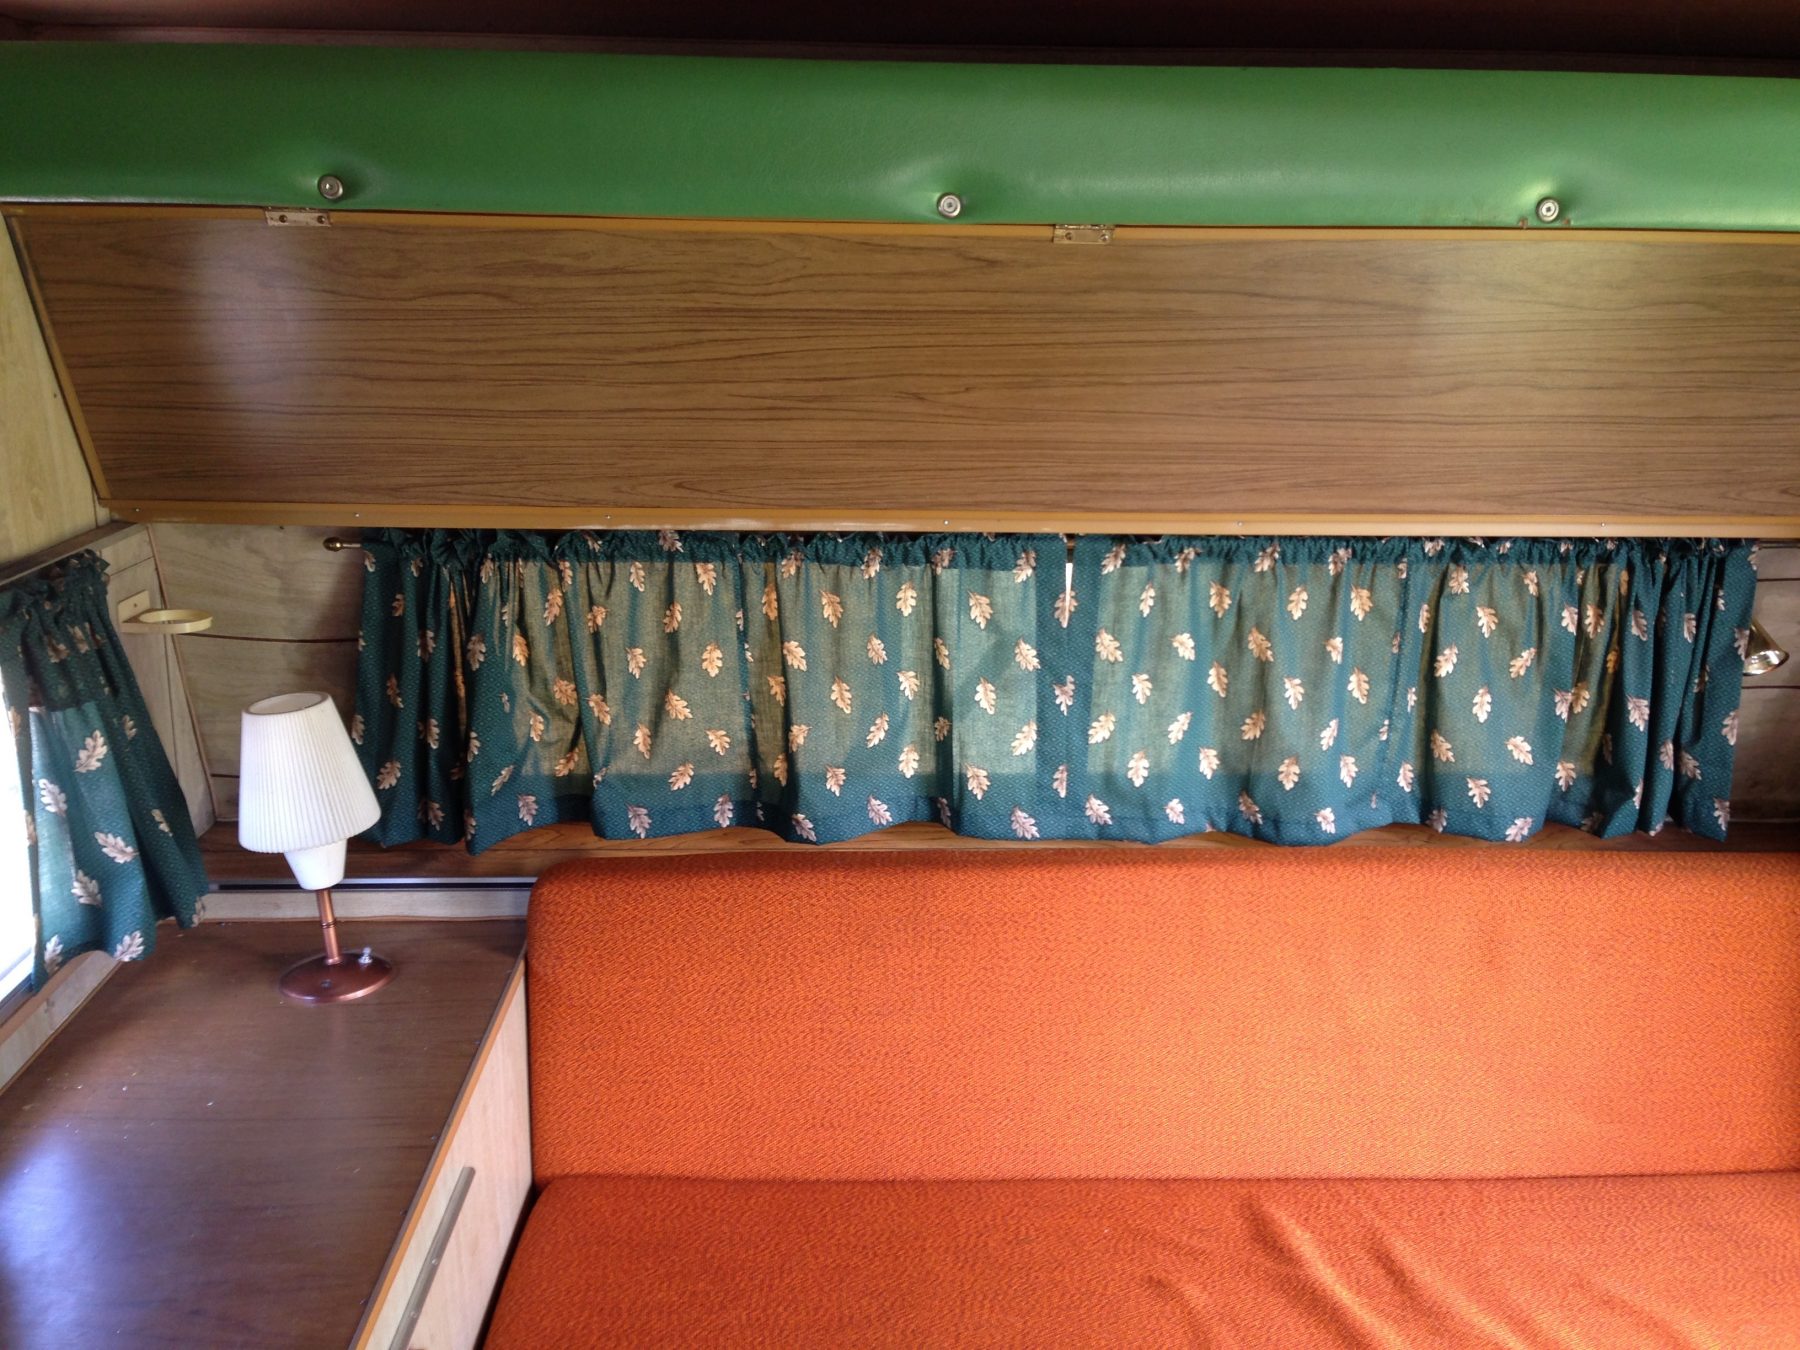
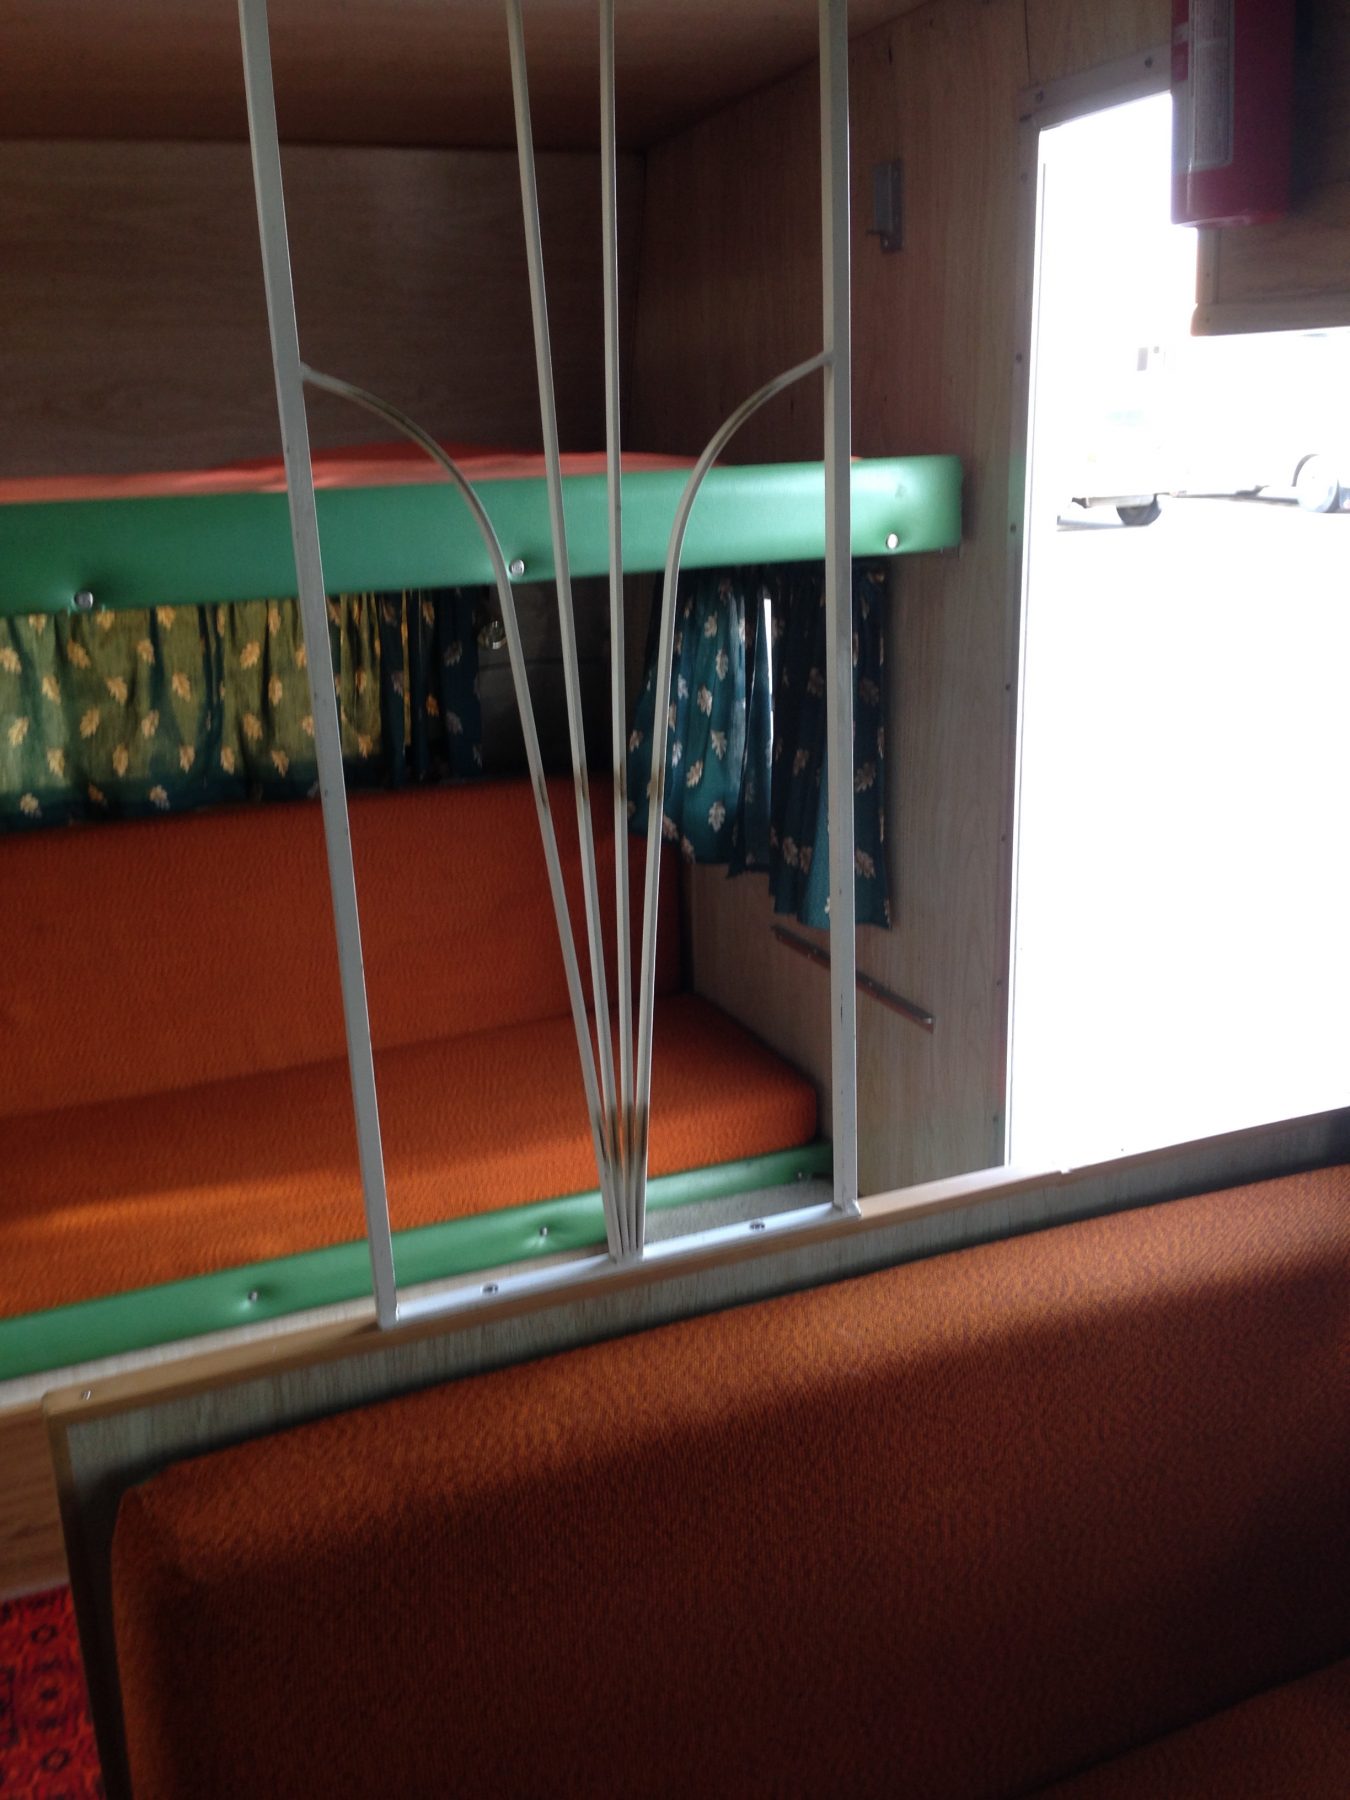
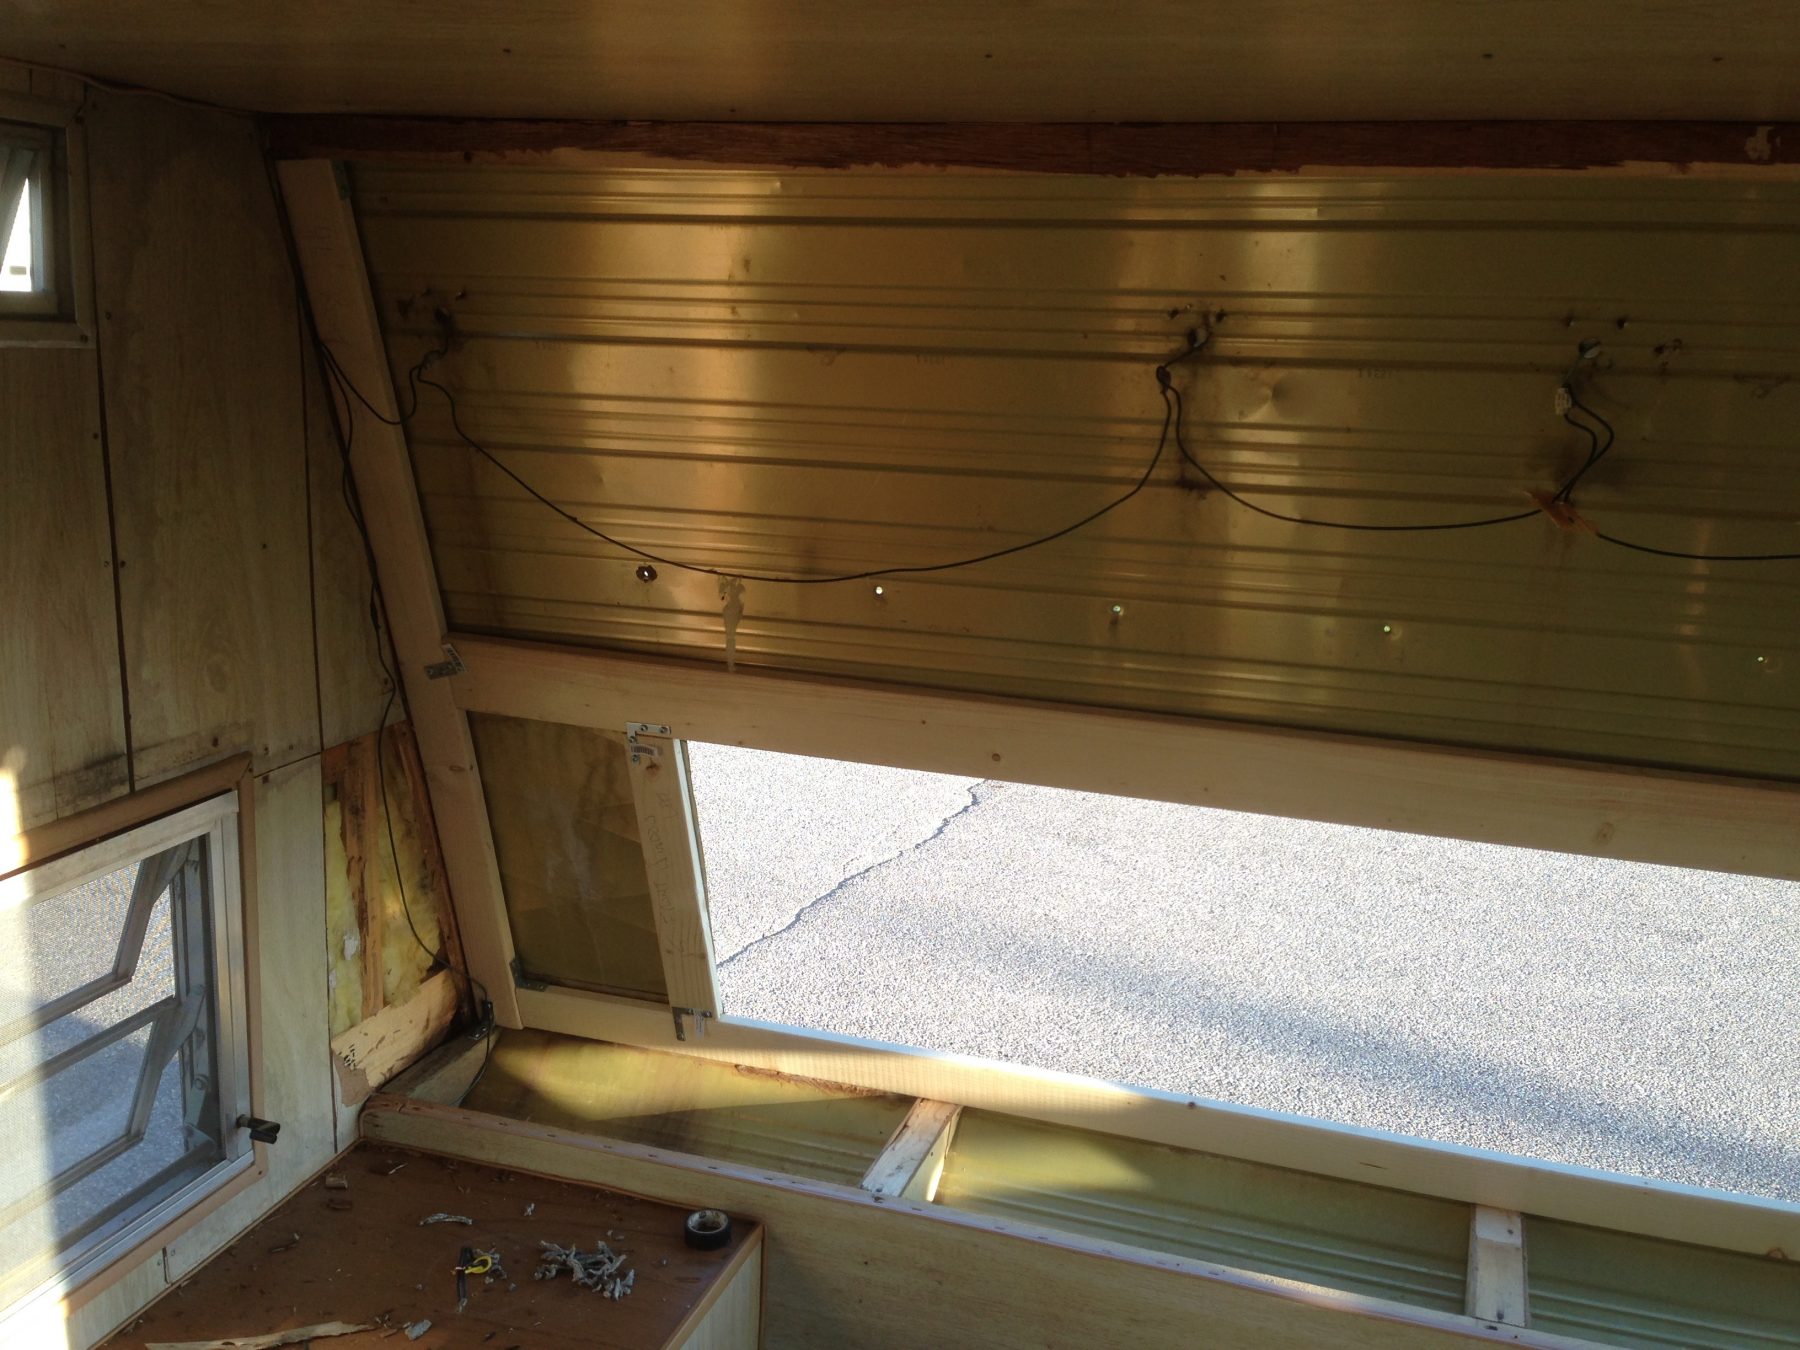
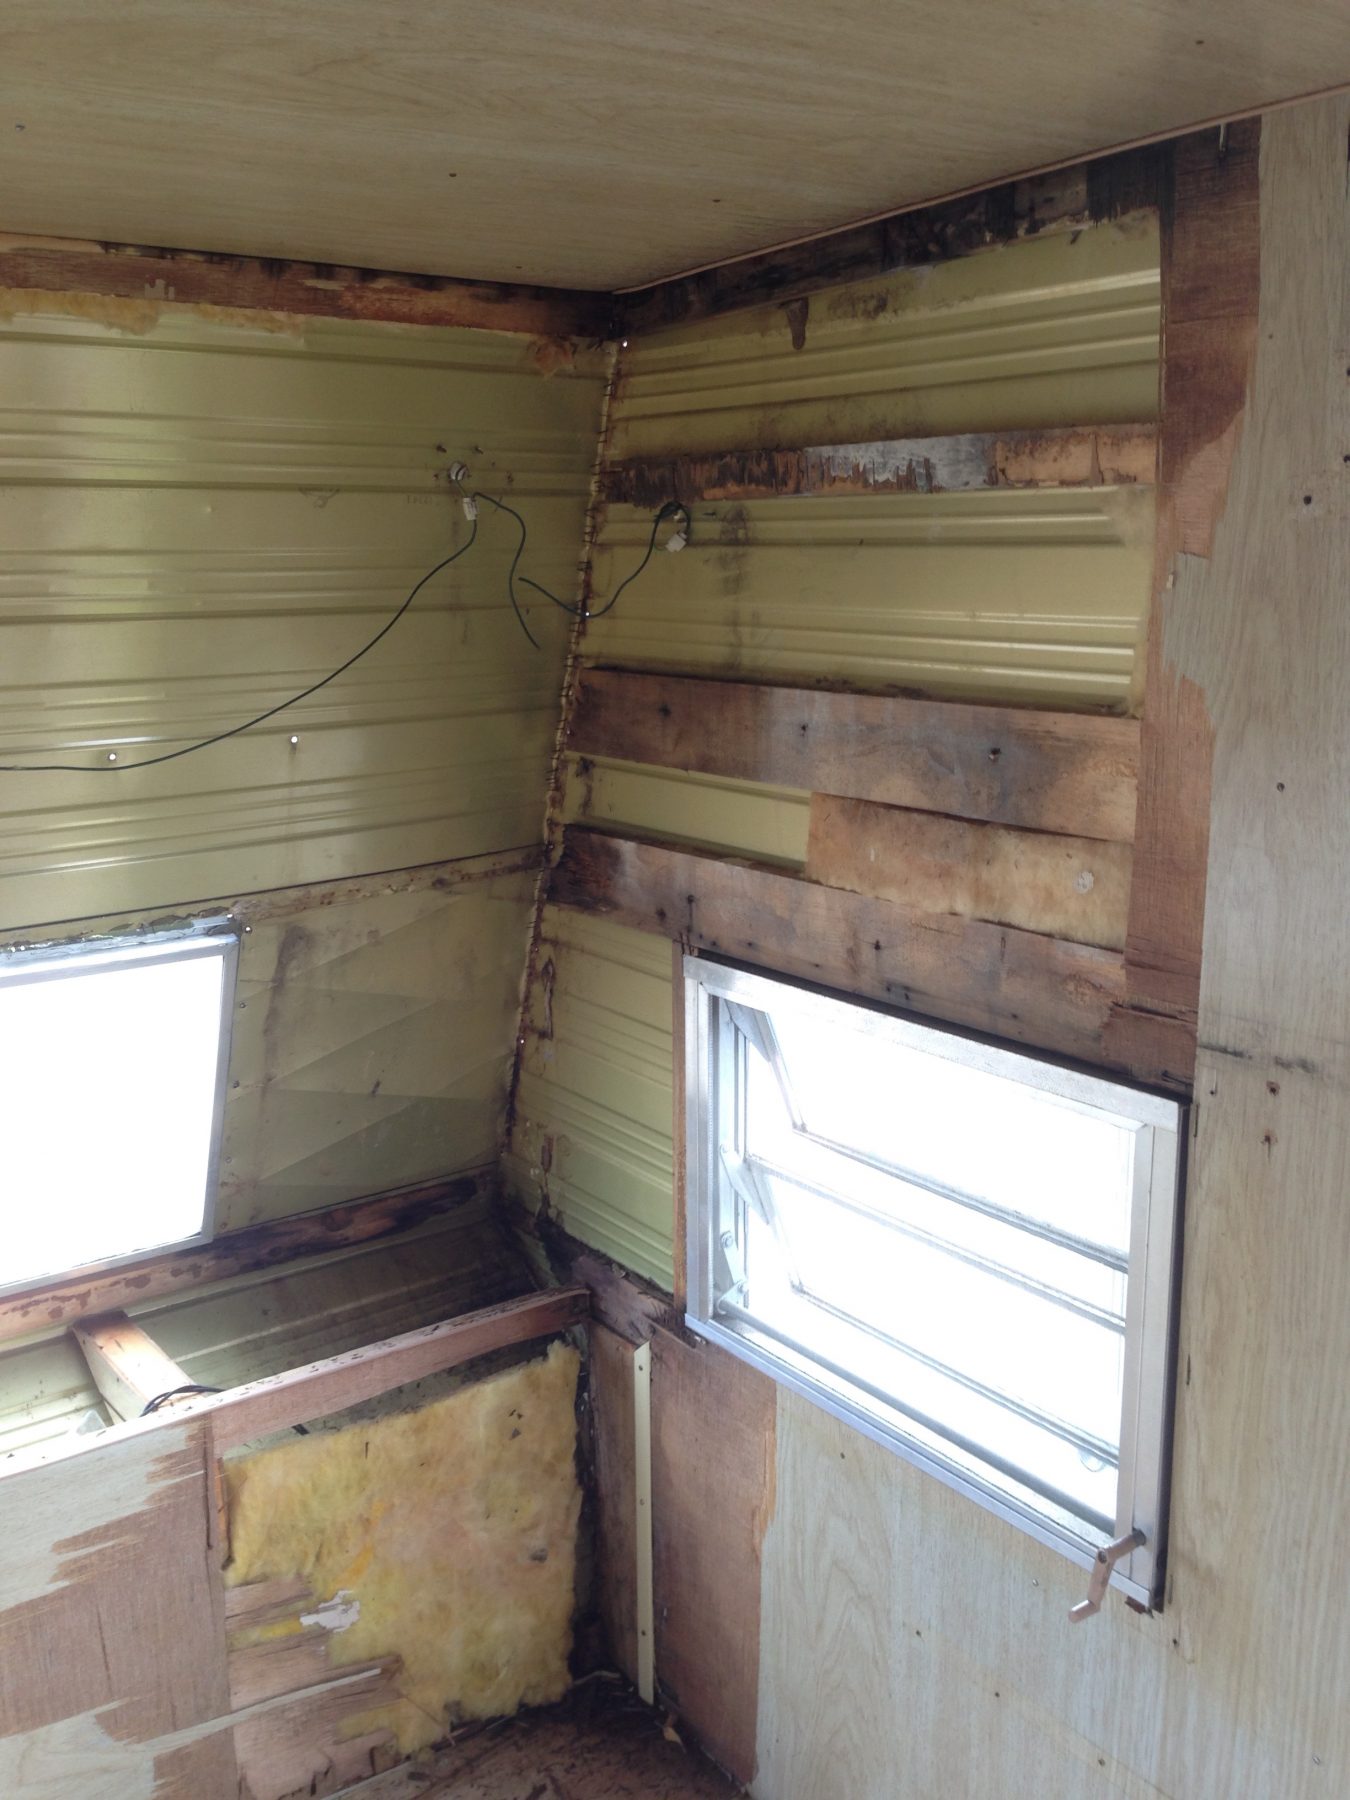
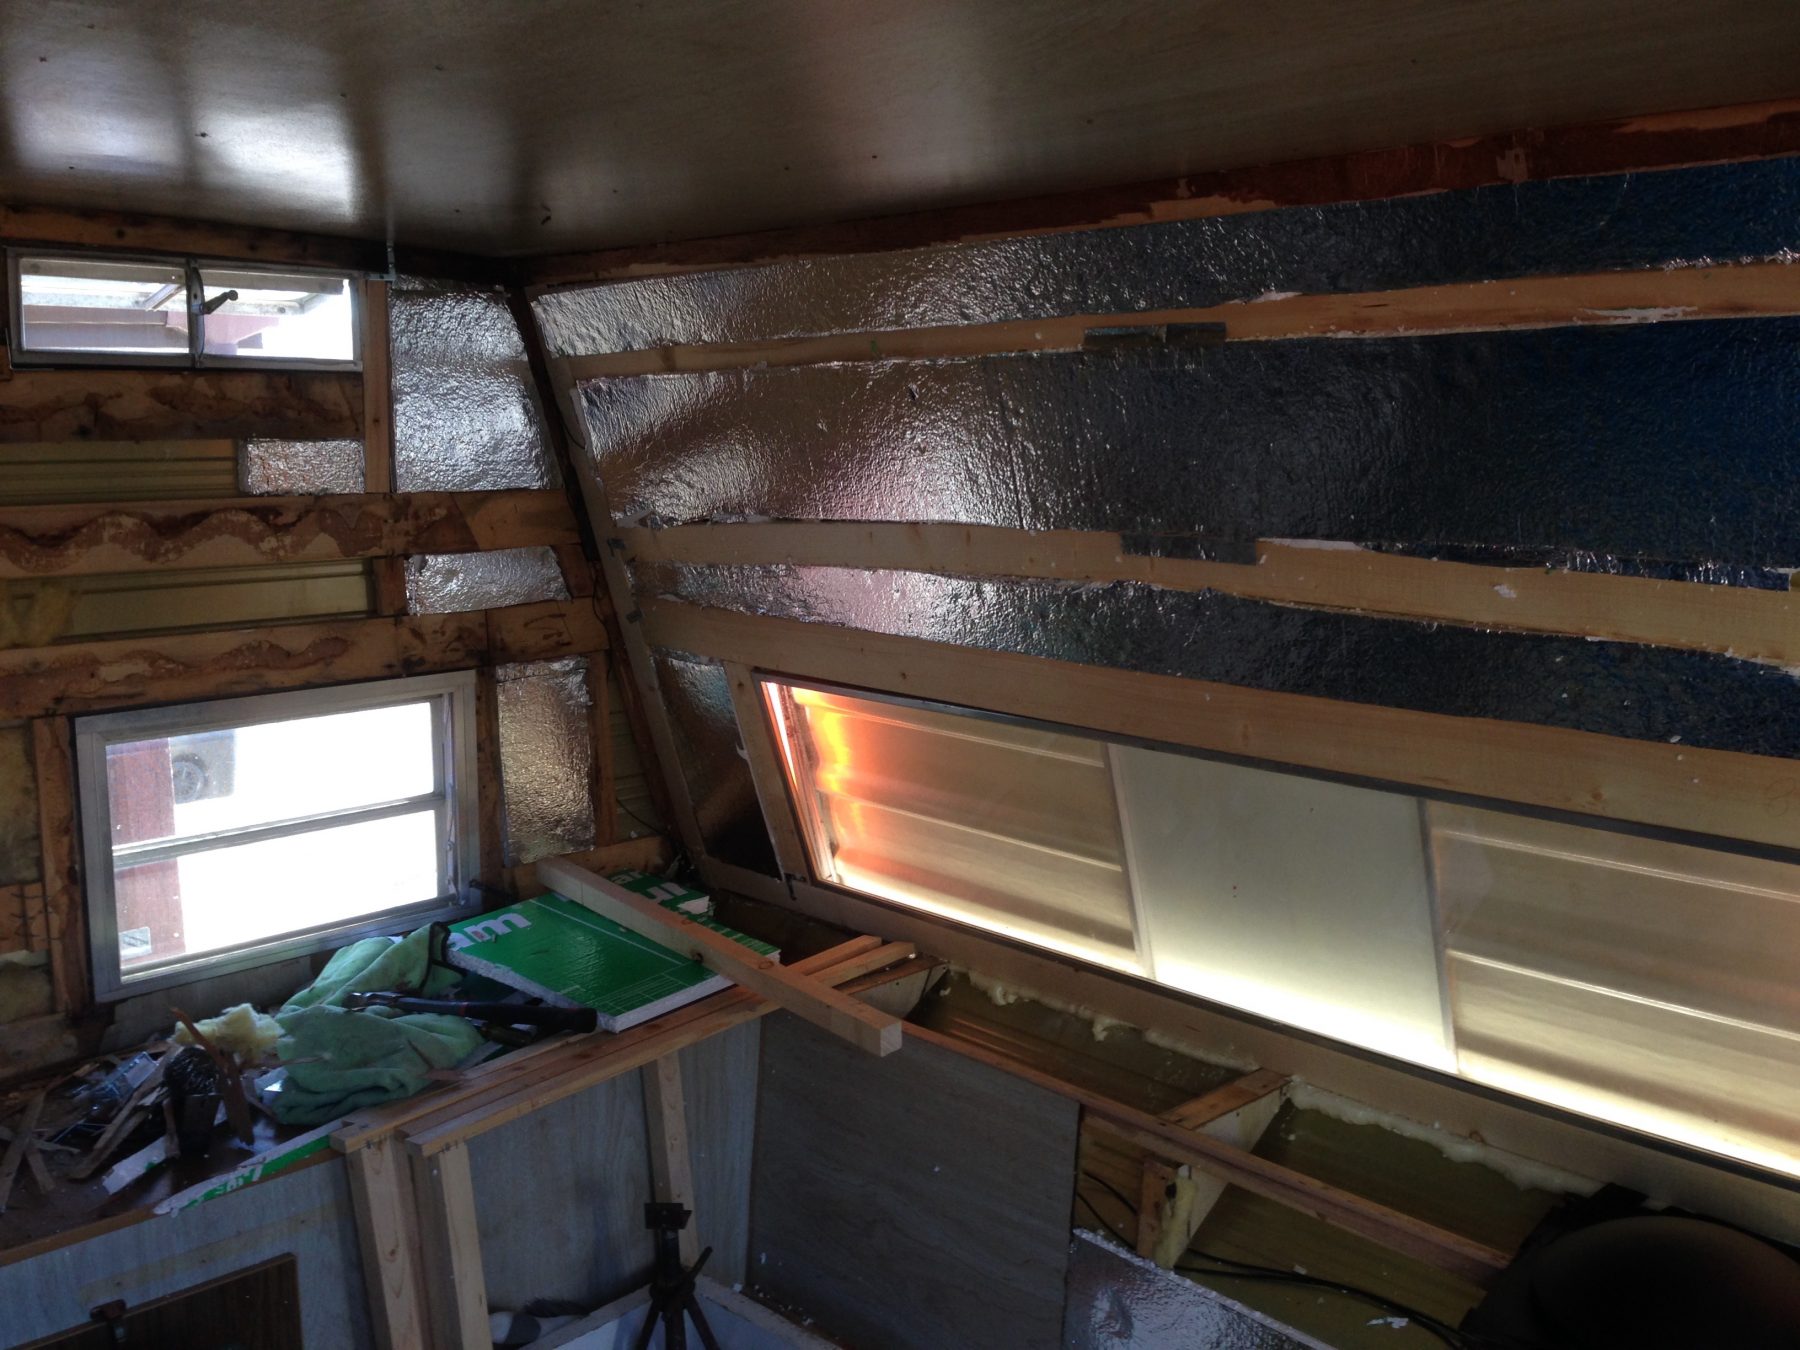
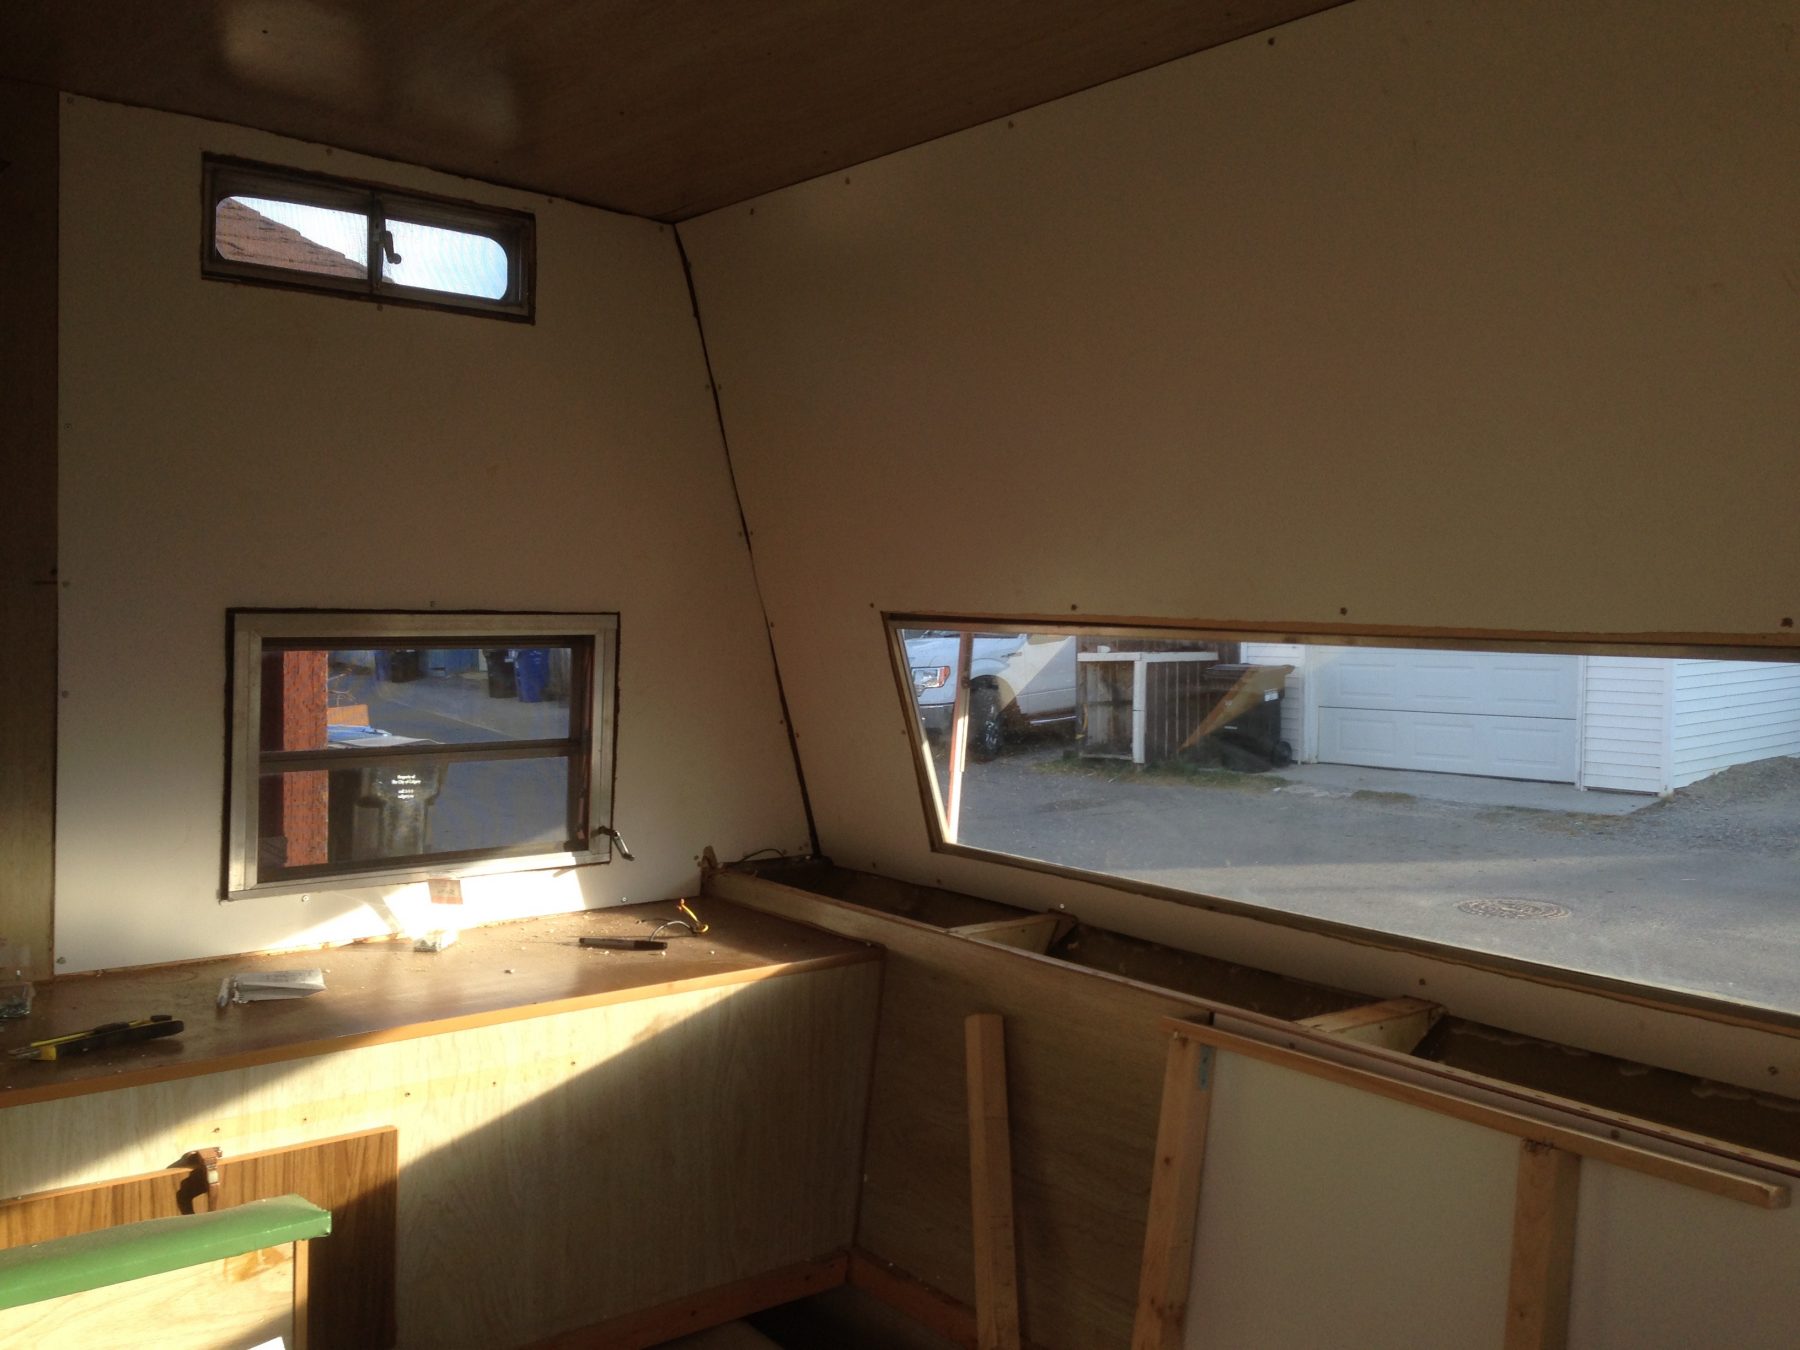
At this point I knew that I had to at least investigate the chances of rot and/or mould. Well I found a substantial amount of rot. Being as this whole front area was designed as a bench-seat/small bunk with a folding shelf/bunk area above I made the executive decision for a redesign. I started yanking old wet wood out and off course that snowballed into loads of extra “fun”.

Here is a complete list of everything that I’ve done since last summer and what still has to be done.

  • First things first, when I bought the trailer I needed a hitch. When getting it installed the guy asked me if the trailer had brakes, do I need a brake controller. Called the guy selling the trailer, no it doesn’t have brakes. No brake controller installed. Go to pick up the trailer, plug into my brand new plug on the truck, trailer wheels lock up tight. The trailer does have brakes and I needed a brake controller. Done.
  • Then it was time for two new tires as the tires where pretty iffy. Mental note to get the axel checked because of the odd wear.
  • Tore all the rotted wood from the front section and replaced with new wood.
  • Pulled out front window, cleaned off all old putty and resealed with new putty and screwed back into the new wood, sealing around window on the outside with some RV sealer.
  • Attached and sealed a drip-cap (found on Amazon) to the exterior above the window and under the fibreglass awning to direct rain water around the window.
  • Using RV sealer, cleaned and went around all the running lights to combat water entry.
  • Did the same sealing around outside of some of the windows near the front.


At this point I waited for and did another rain test. Complete fail. The water was still coming in the same places as before and since all the panelling was gone I noticed the left side entry point was higher up on the left front corner but still hard to pin point. I figured it had to be the roof and ventured upon that quest.


  • Researched my repair options on the internet.
  • Ordered  6 inch wide Eternabond roofing tape from Amazon, (Calgary RV shops wanted almost double the price, sorry guys, NOPE).
  • Over the course of 2 full weekends and 5 wire grinding wheels I removed all the old crappy household roof sealant from the seams and edges of the roof down to the bare aluminum.
  • Neutralized the aluminum with vinegar, cleaned and applied the sealing tape along all 5 seams. The seams are about an inch wide so that gave me about 2.5 inches of sealed surface on each side of them.


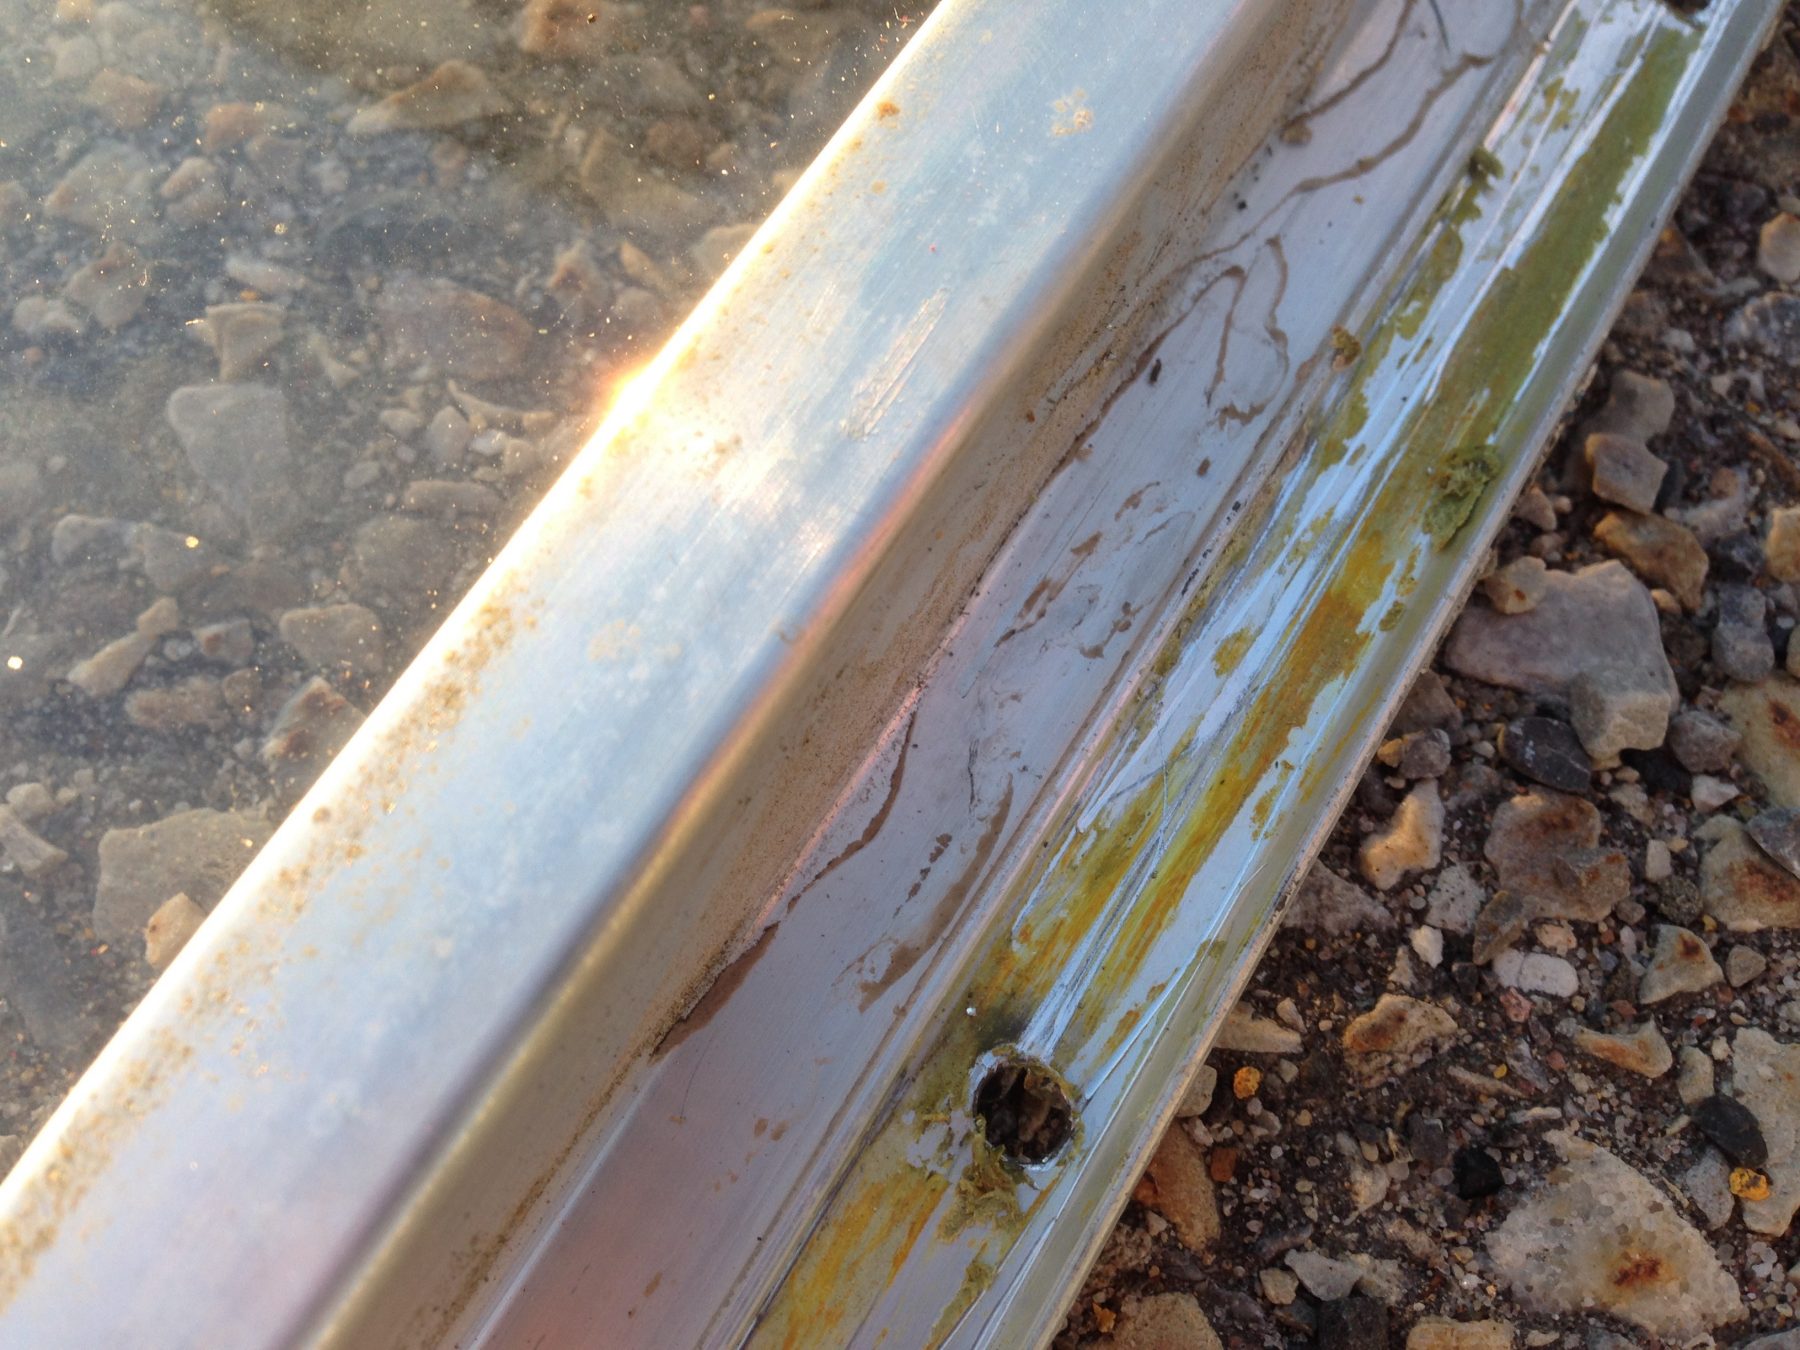
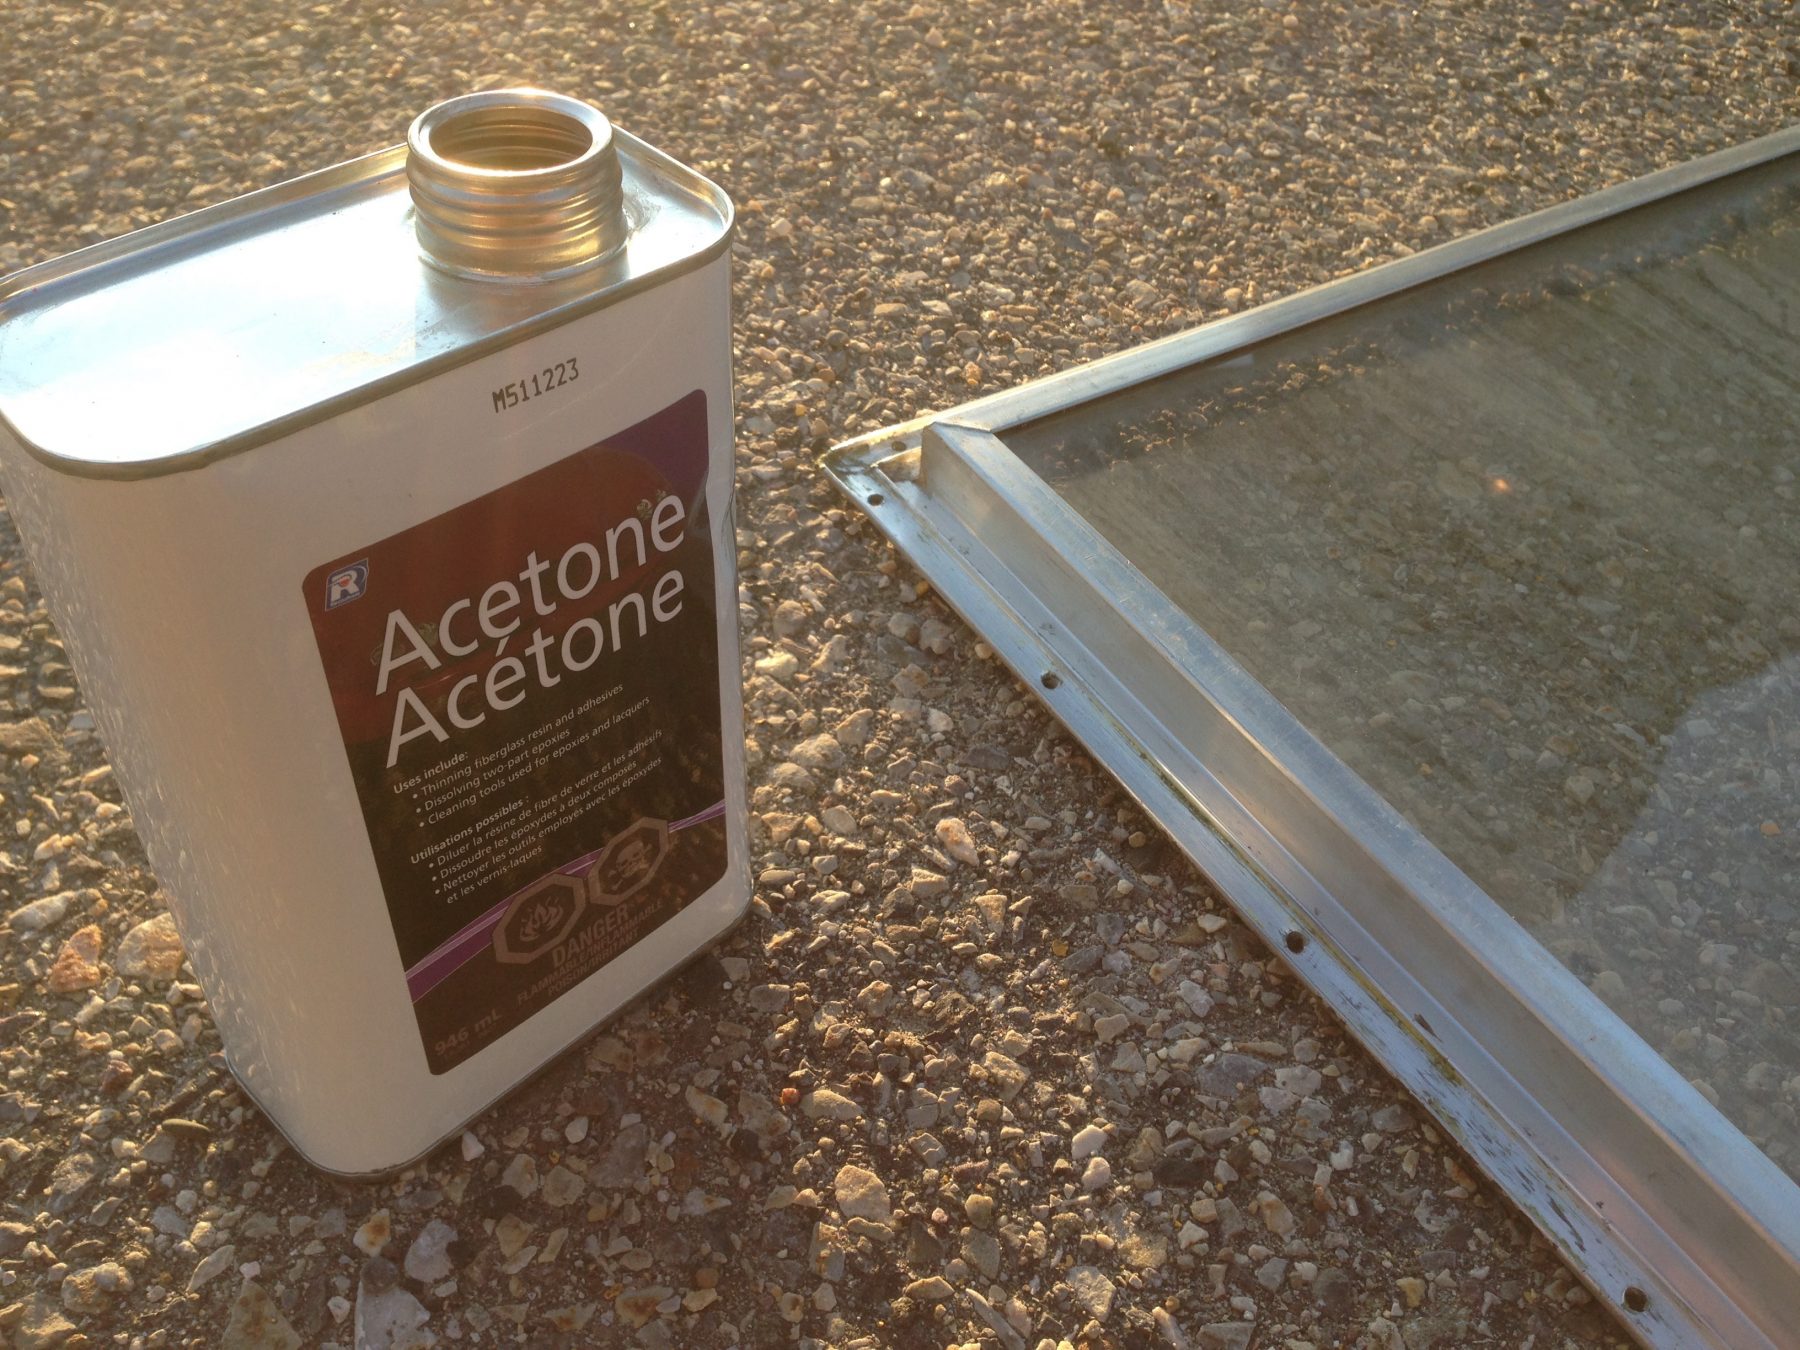
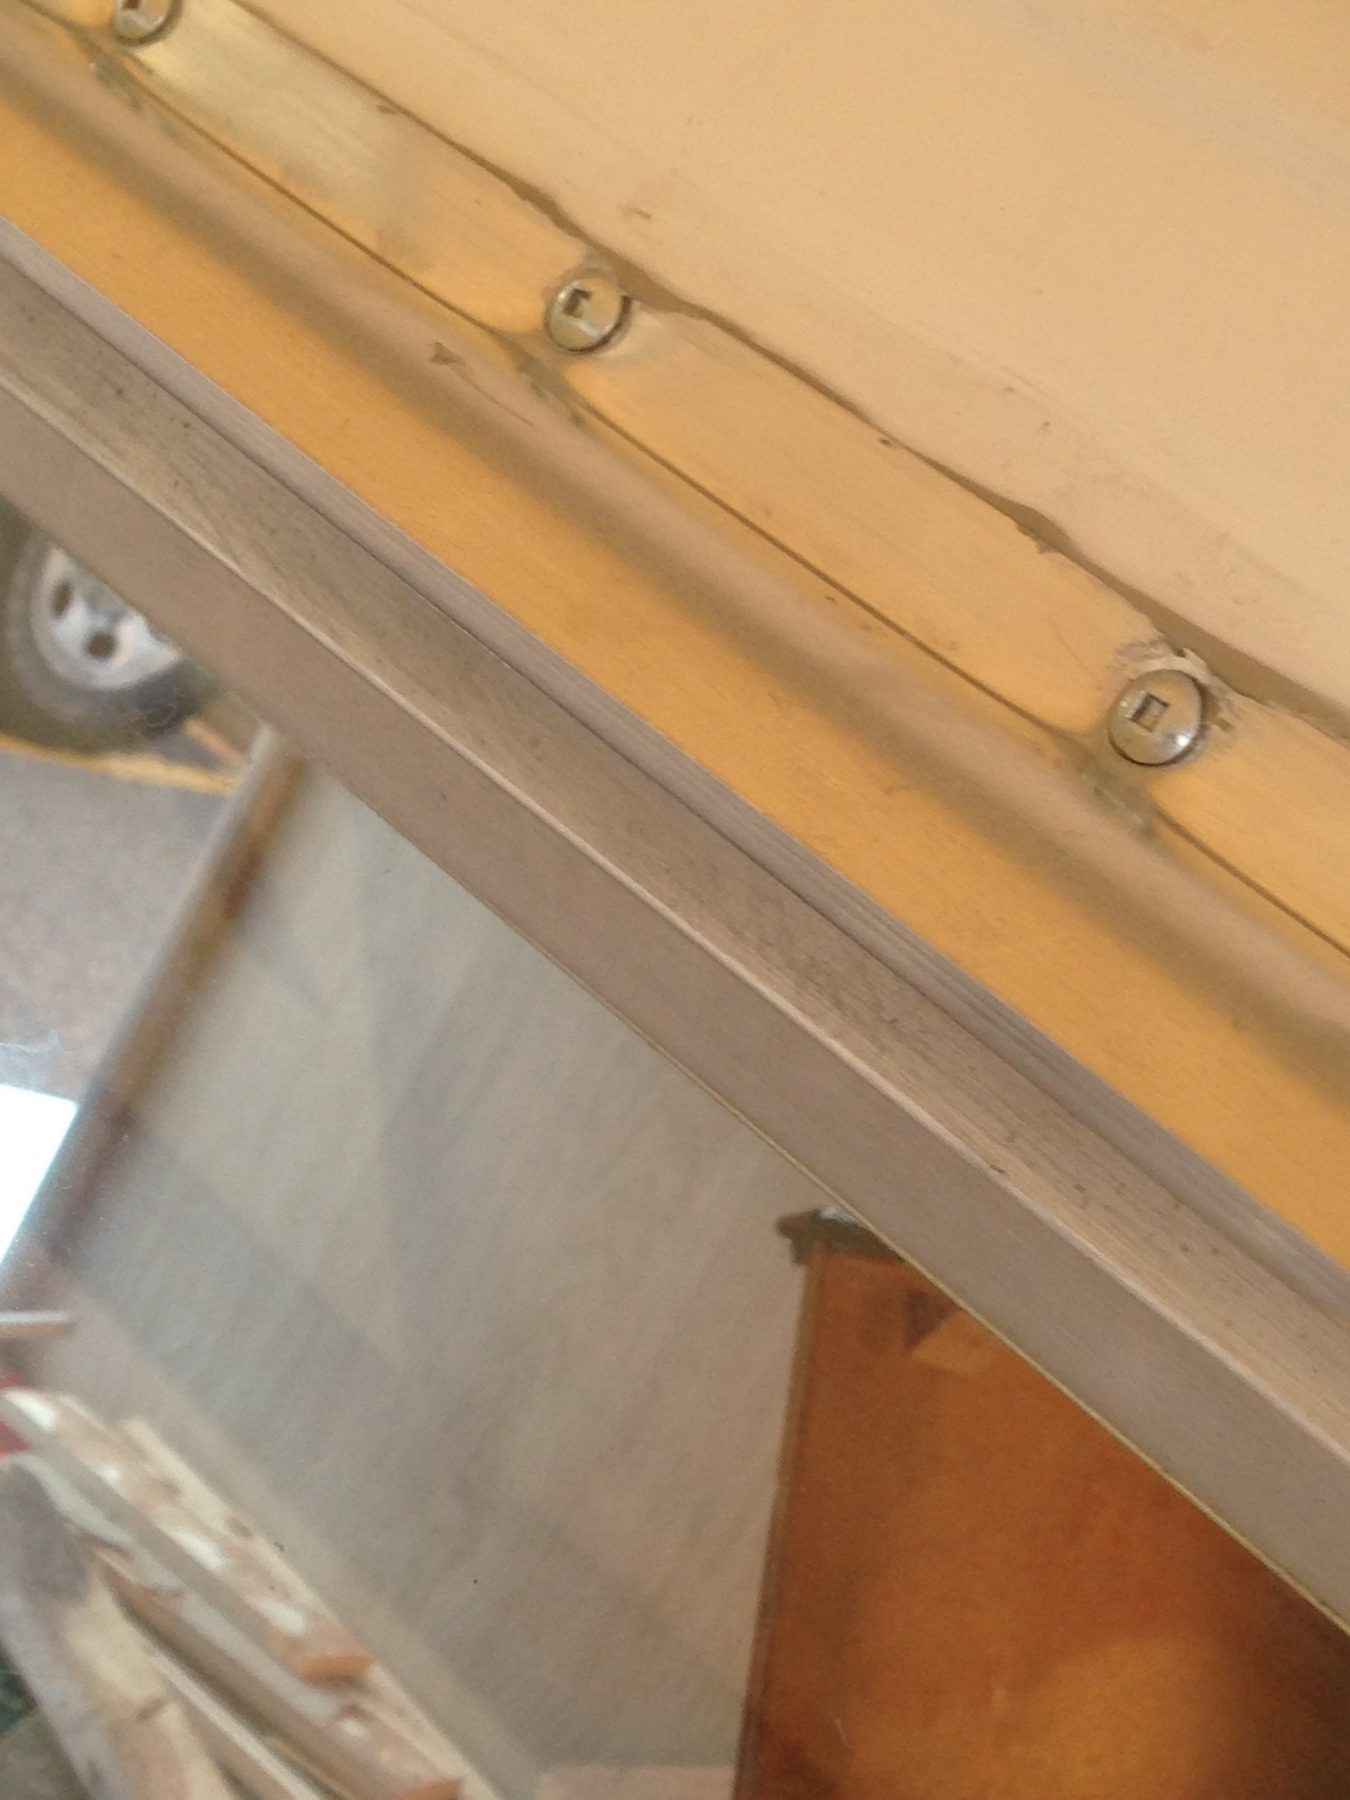
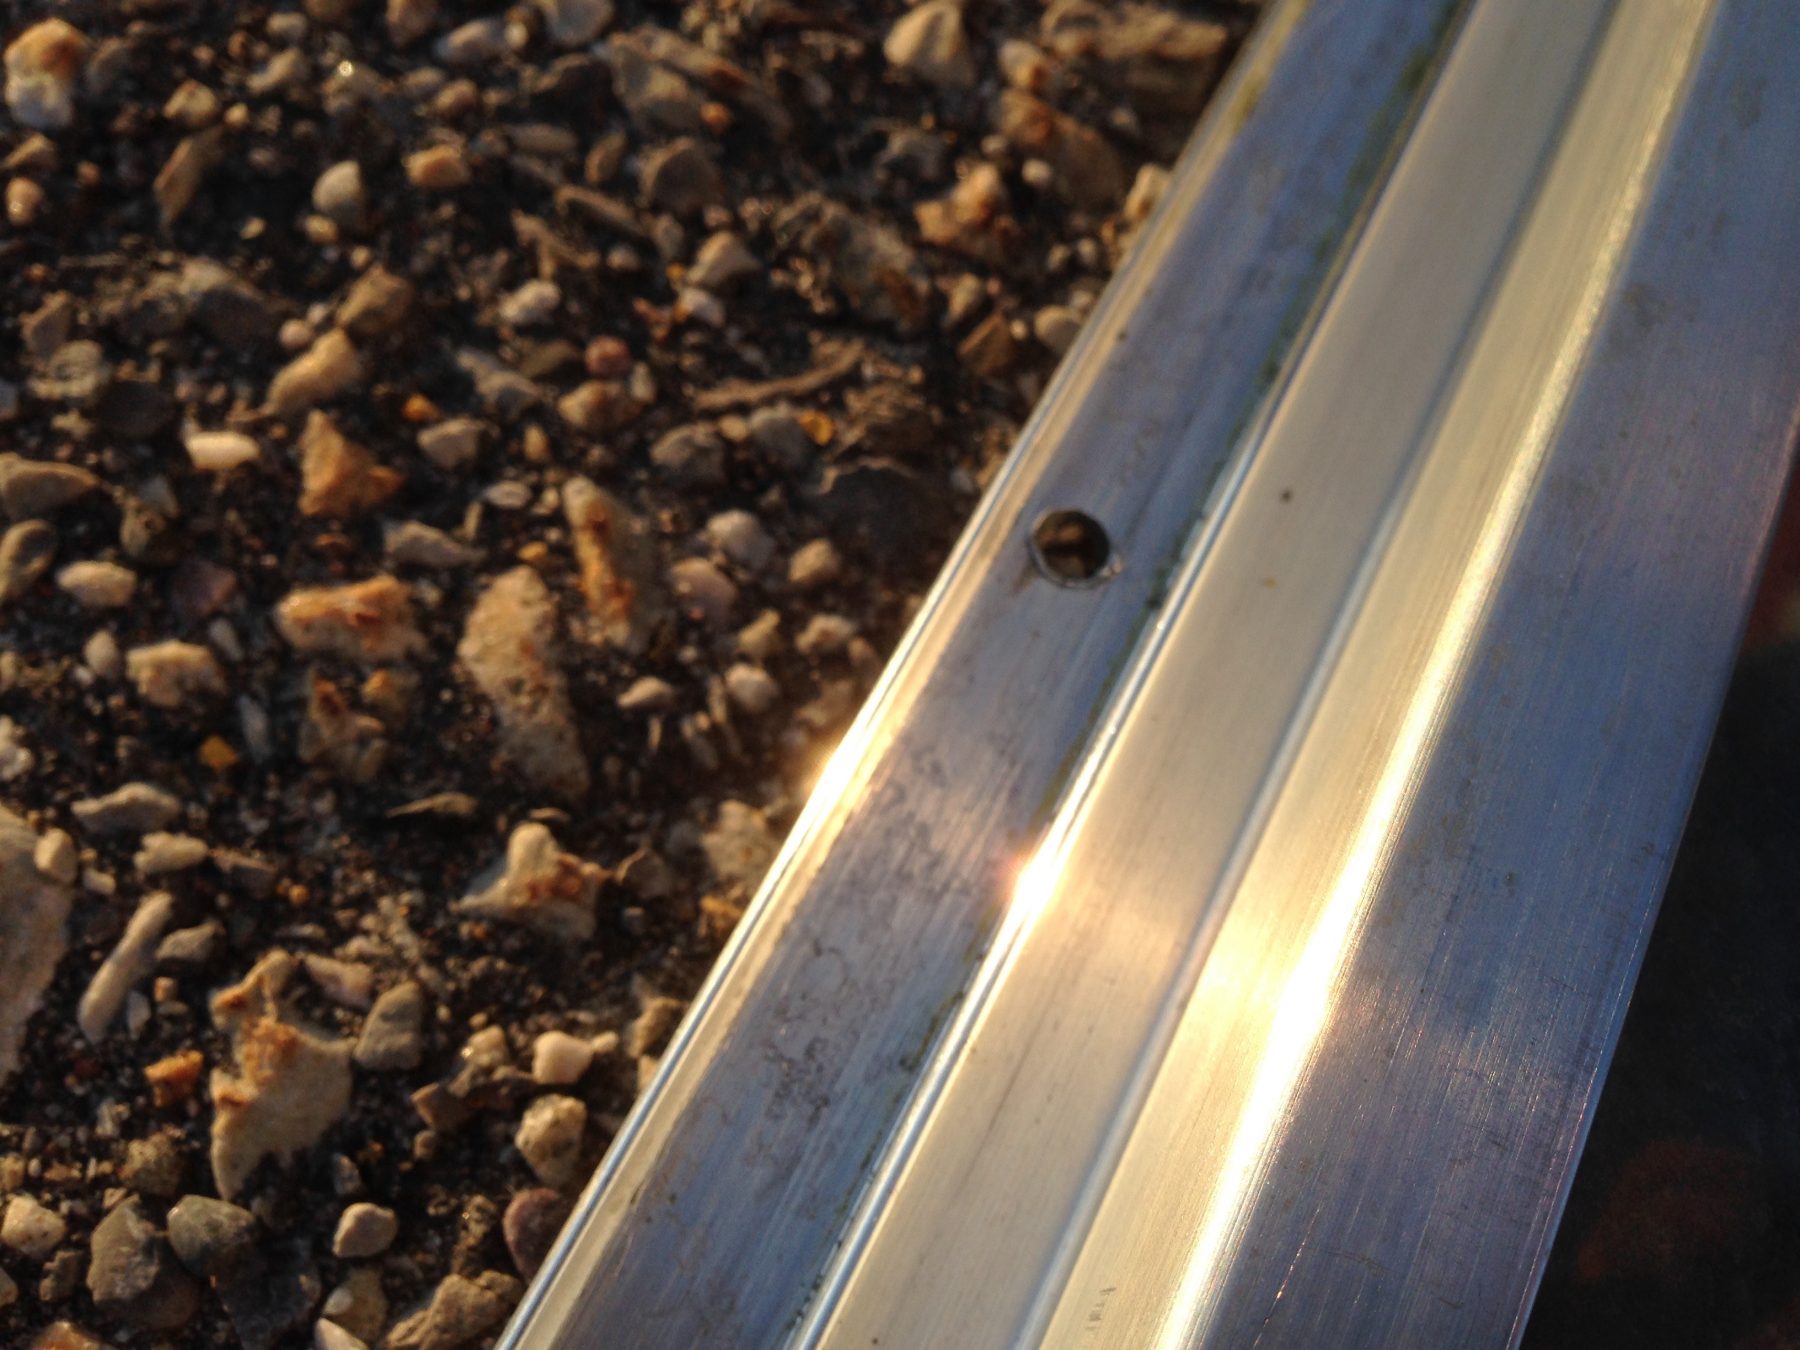
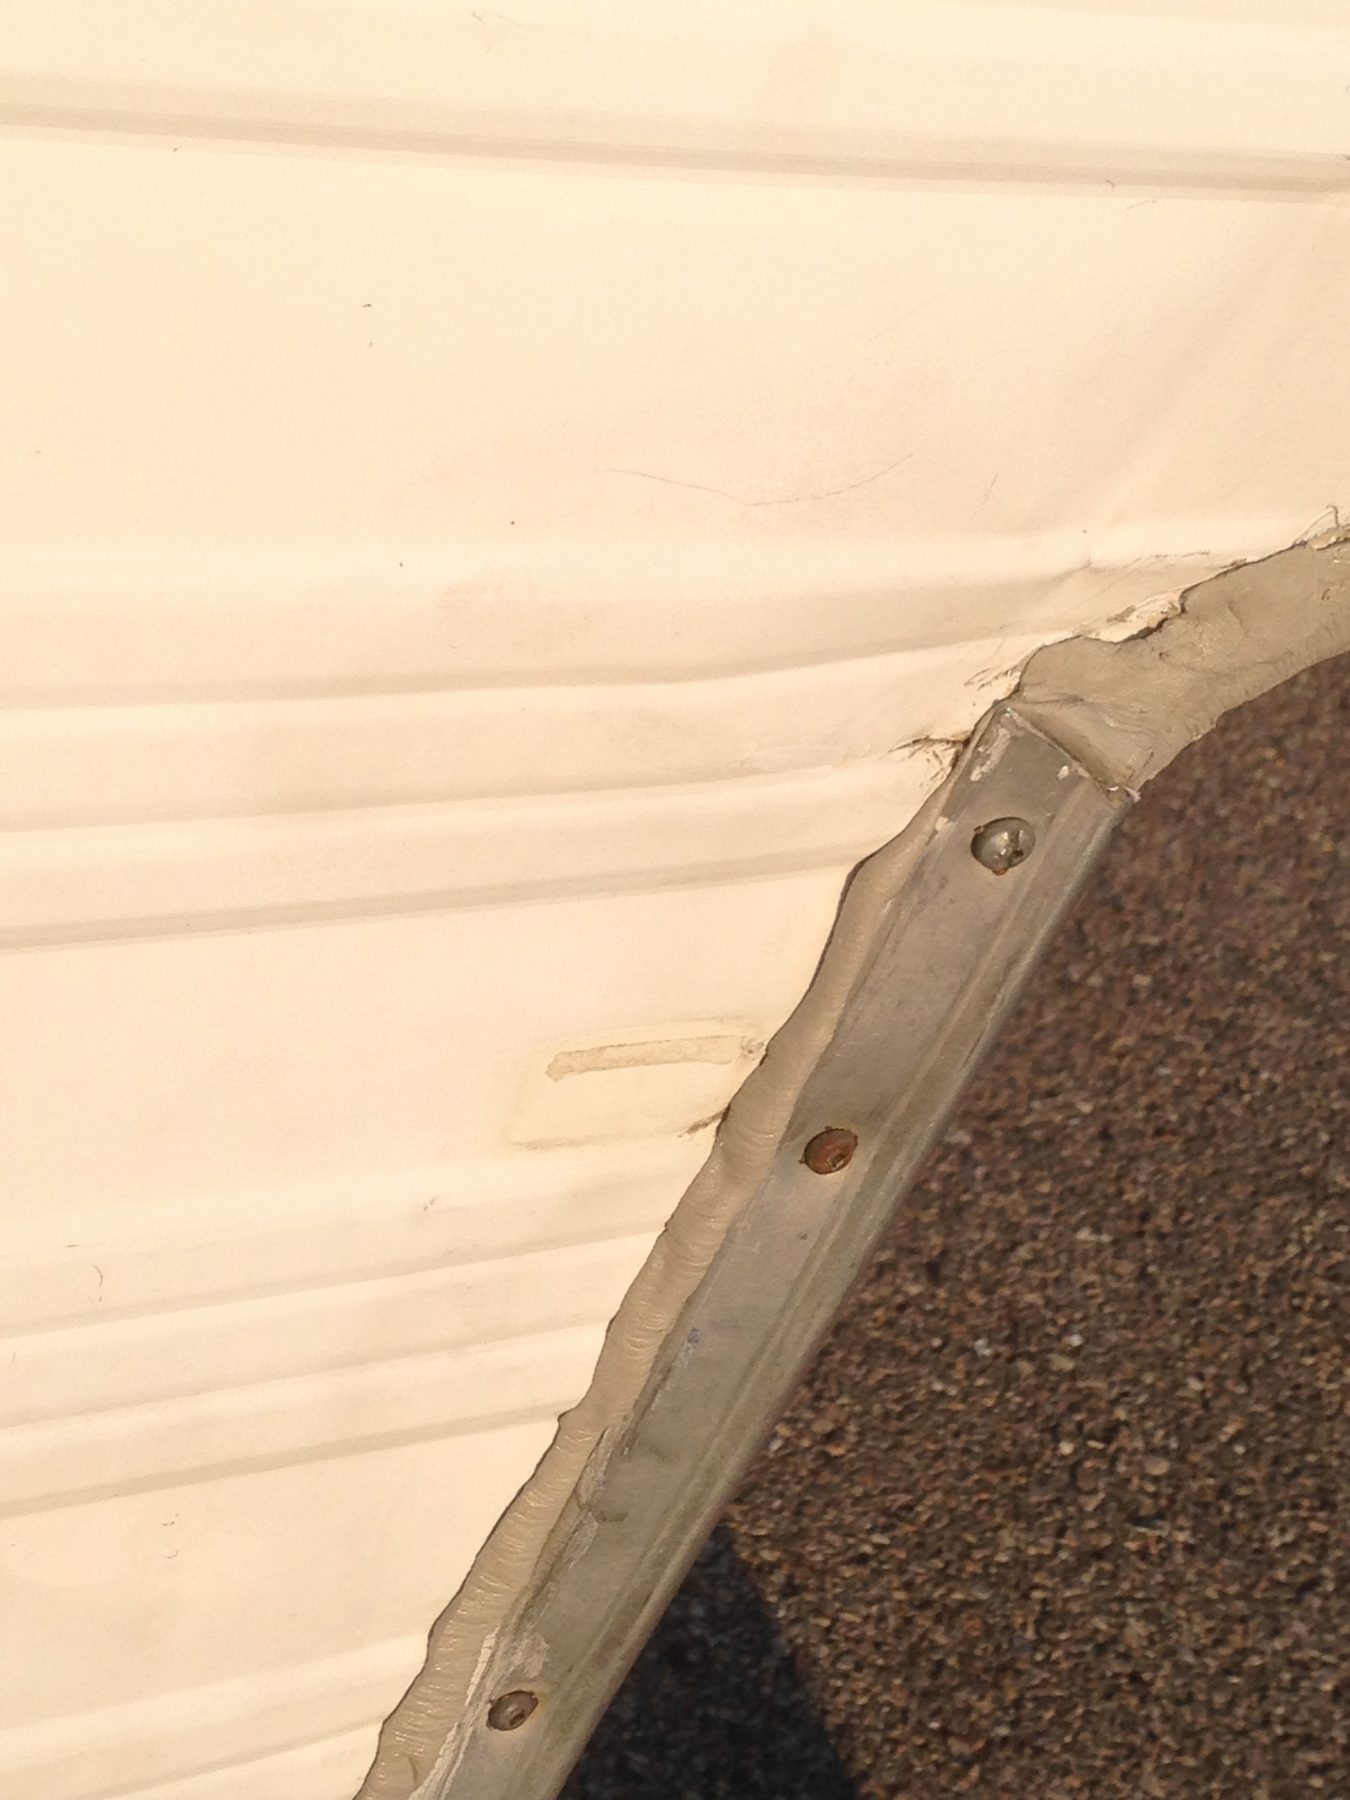
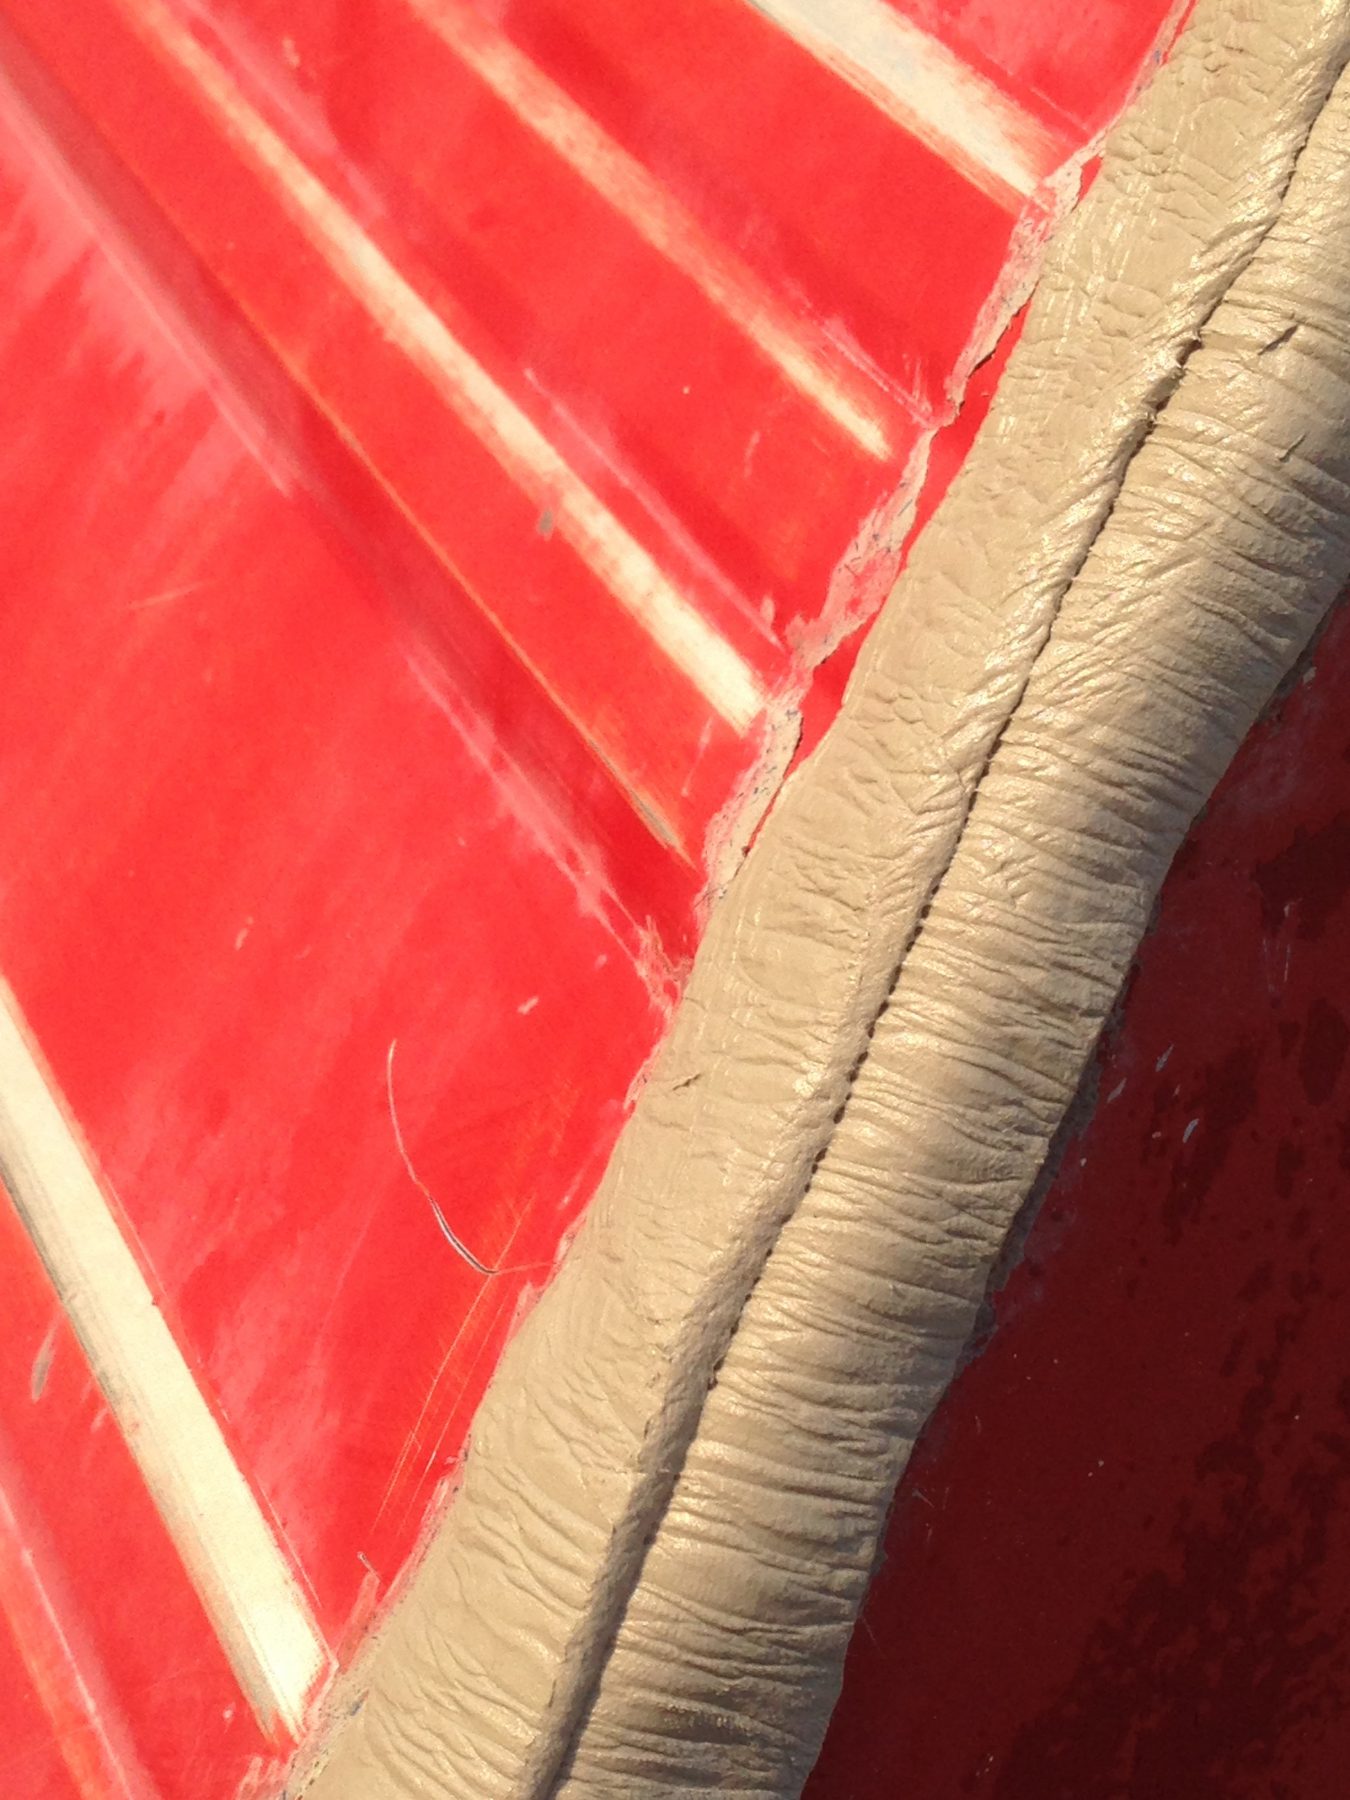
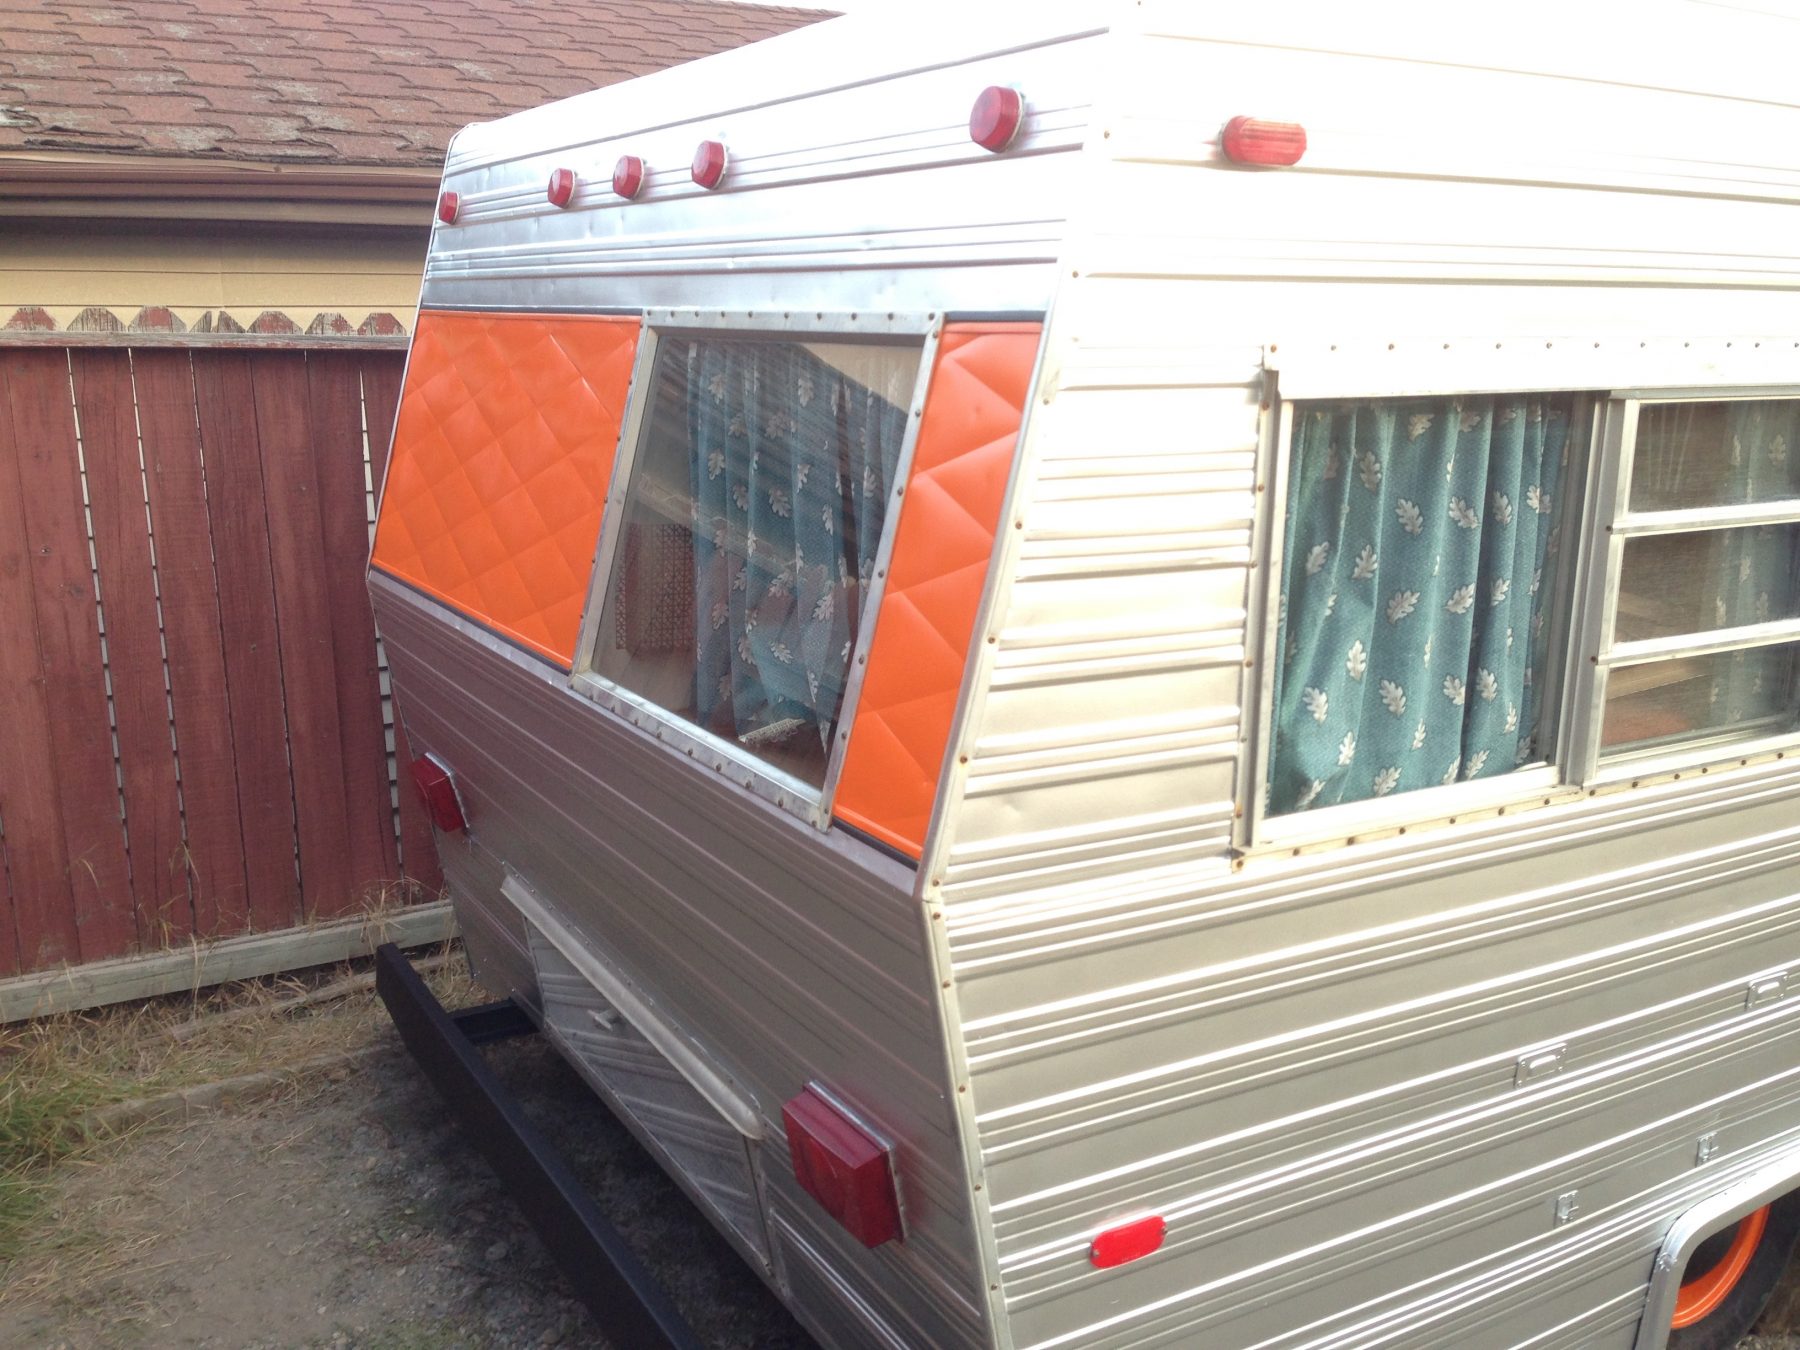
Waited for rain test Number 3. …and Failed. Nothing had changed. Nothing. Same water, same places, same amounts. I was stumped and to be honest almost done. Thoughts of lighting the thing on fire crossed my mind. Right around this point I had to move it from the lot at work. Fortunately I was able to rent a parking pad from the neighbour next to the house I rent my room from. With the help of my friend Aye Pancakes we went out one late fall day and started from the bottom of the trailer, spraying with a garden hose until the water appeared inside. This actually worked. The leaks were two sections of SIDE seams. Areas where the aluminum siding is stapled to the wood frame, then the next section above overlaps. the leak on the right was not the running light that I sealed around but just to the front of it. The left leak, a seam along the front. A good dose of RV sealer along those two seams, a few days in between and then a water barrage with a nozzled garden hose proved that we had finally conquered the leaks. Newly sealed roof and front window in the process. With that problem solved I took advantage of the few remaining nice fall days and worked on the exterior.

  • Two coats of aluminum look Tremclad over most of the trailer.
  • Sanded and sprayed certain sections and the wheels orange.
  • The two chrome “Moon” wheel covers were rusted and most of the chrome had peeled off. Sanded, primed and sprayed them flat black.
  • The back bumper (still a little bent) and the tongue got a good dose of wire wheel, sanded, primed and also painted flat black.
  • The heavy tin rock guard got three coats of black truck bed-liner.
  • Just as I was getting back to the interior work my tongue jack gave out. The first replacement I bought wouldn’t fit the smaller lower hole by a long shot. Exchanged it for another and it too would not slip through the lower hole, but this was millimetres. I ended up buying a $24 Carbide drill bit and “expanding” the hole in the steel enough for the jack to drop through.


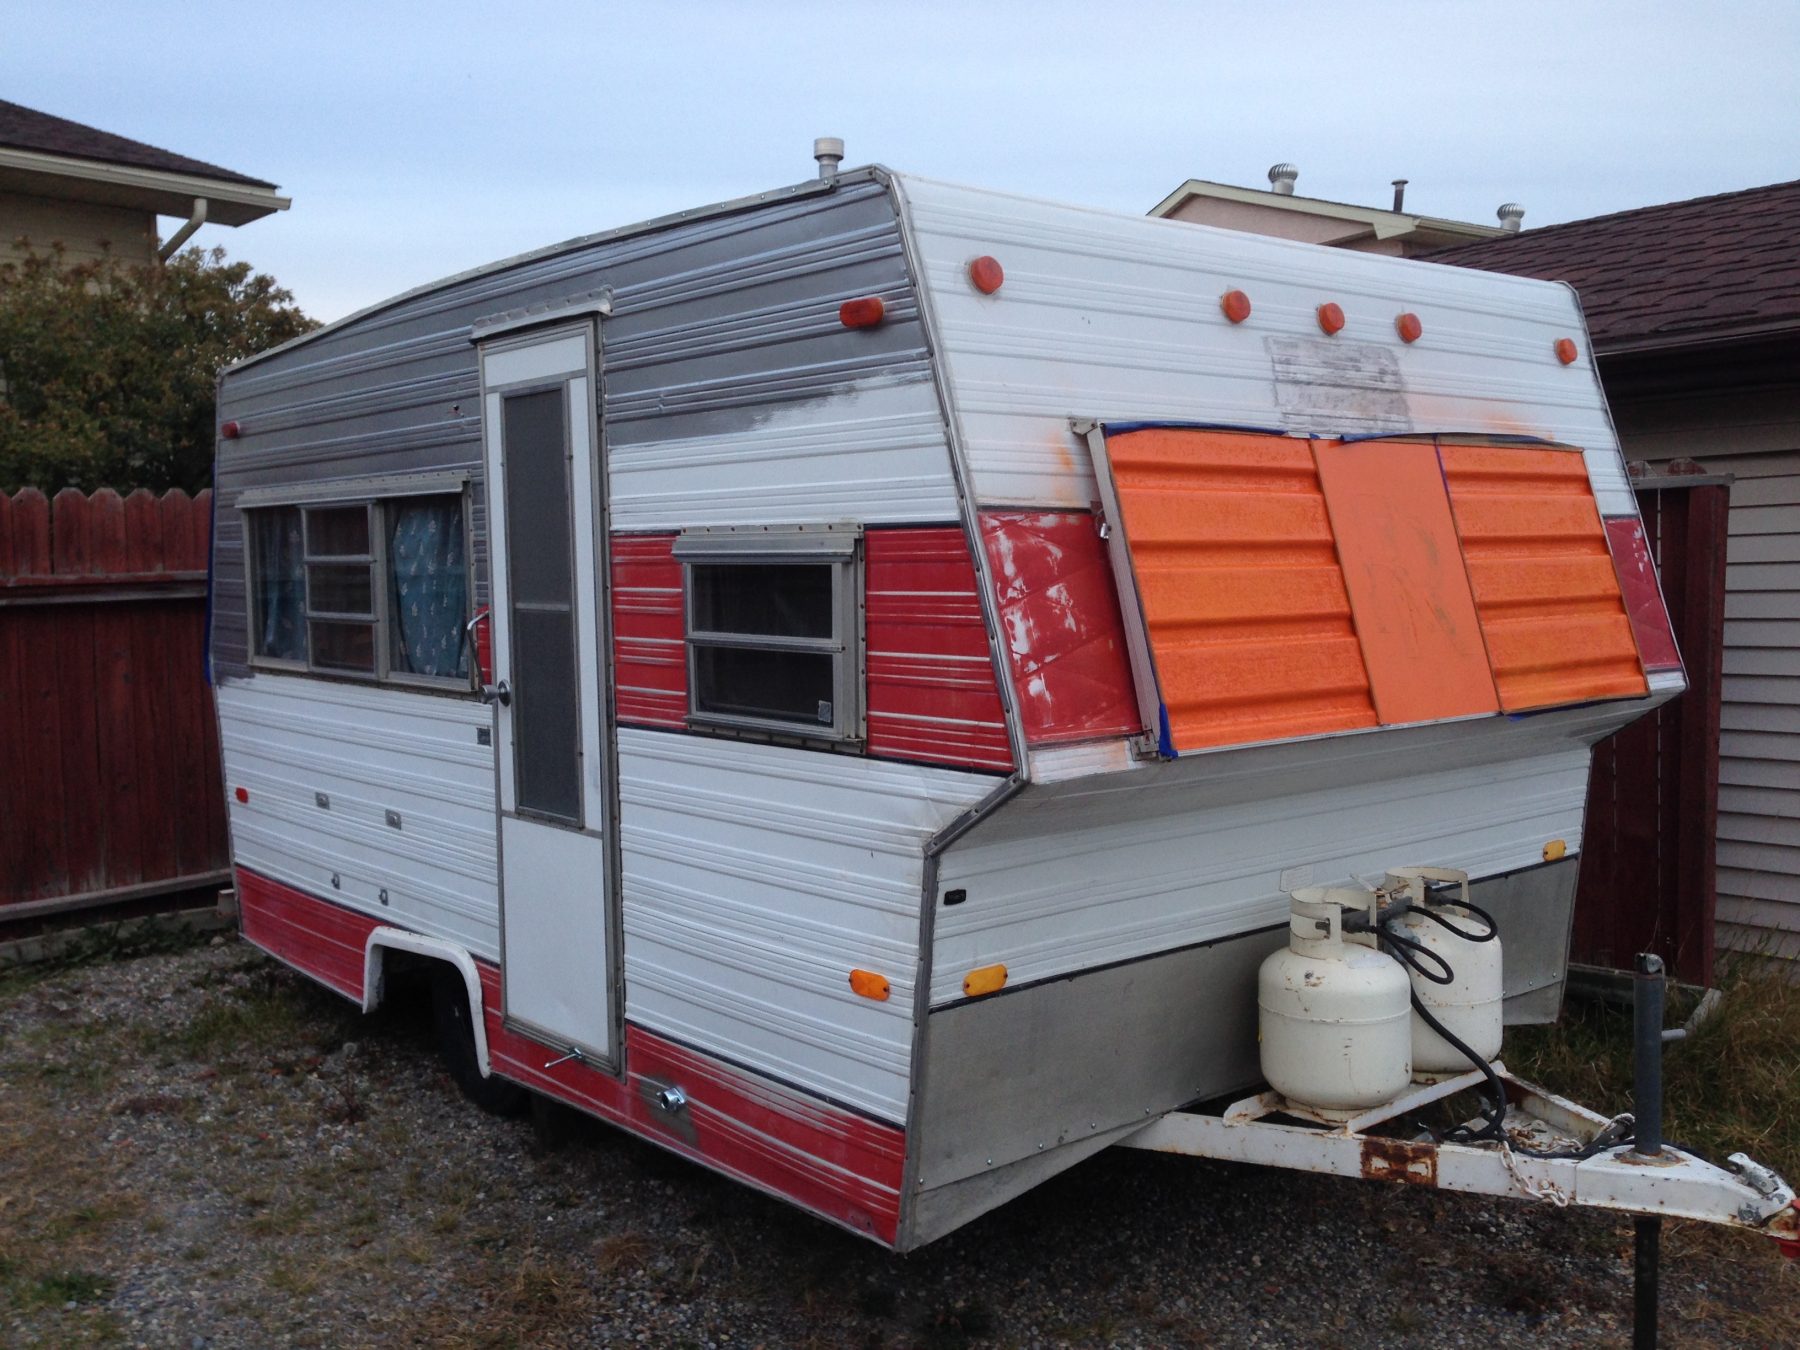
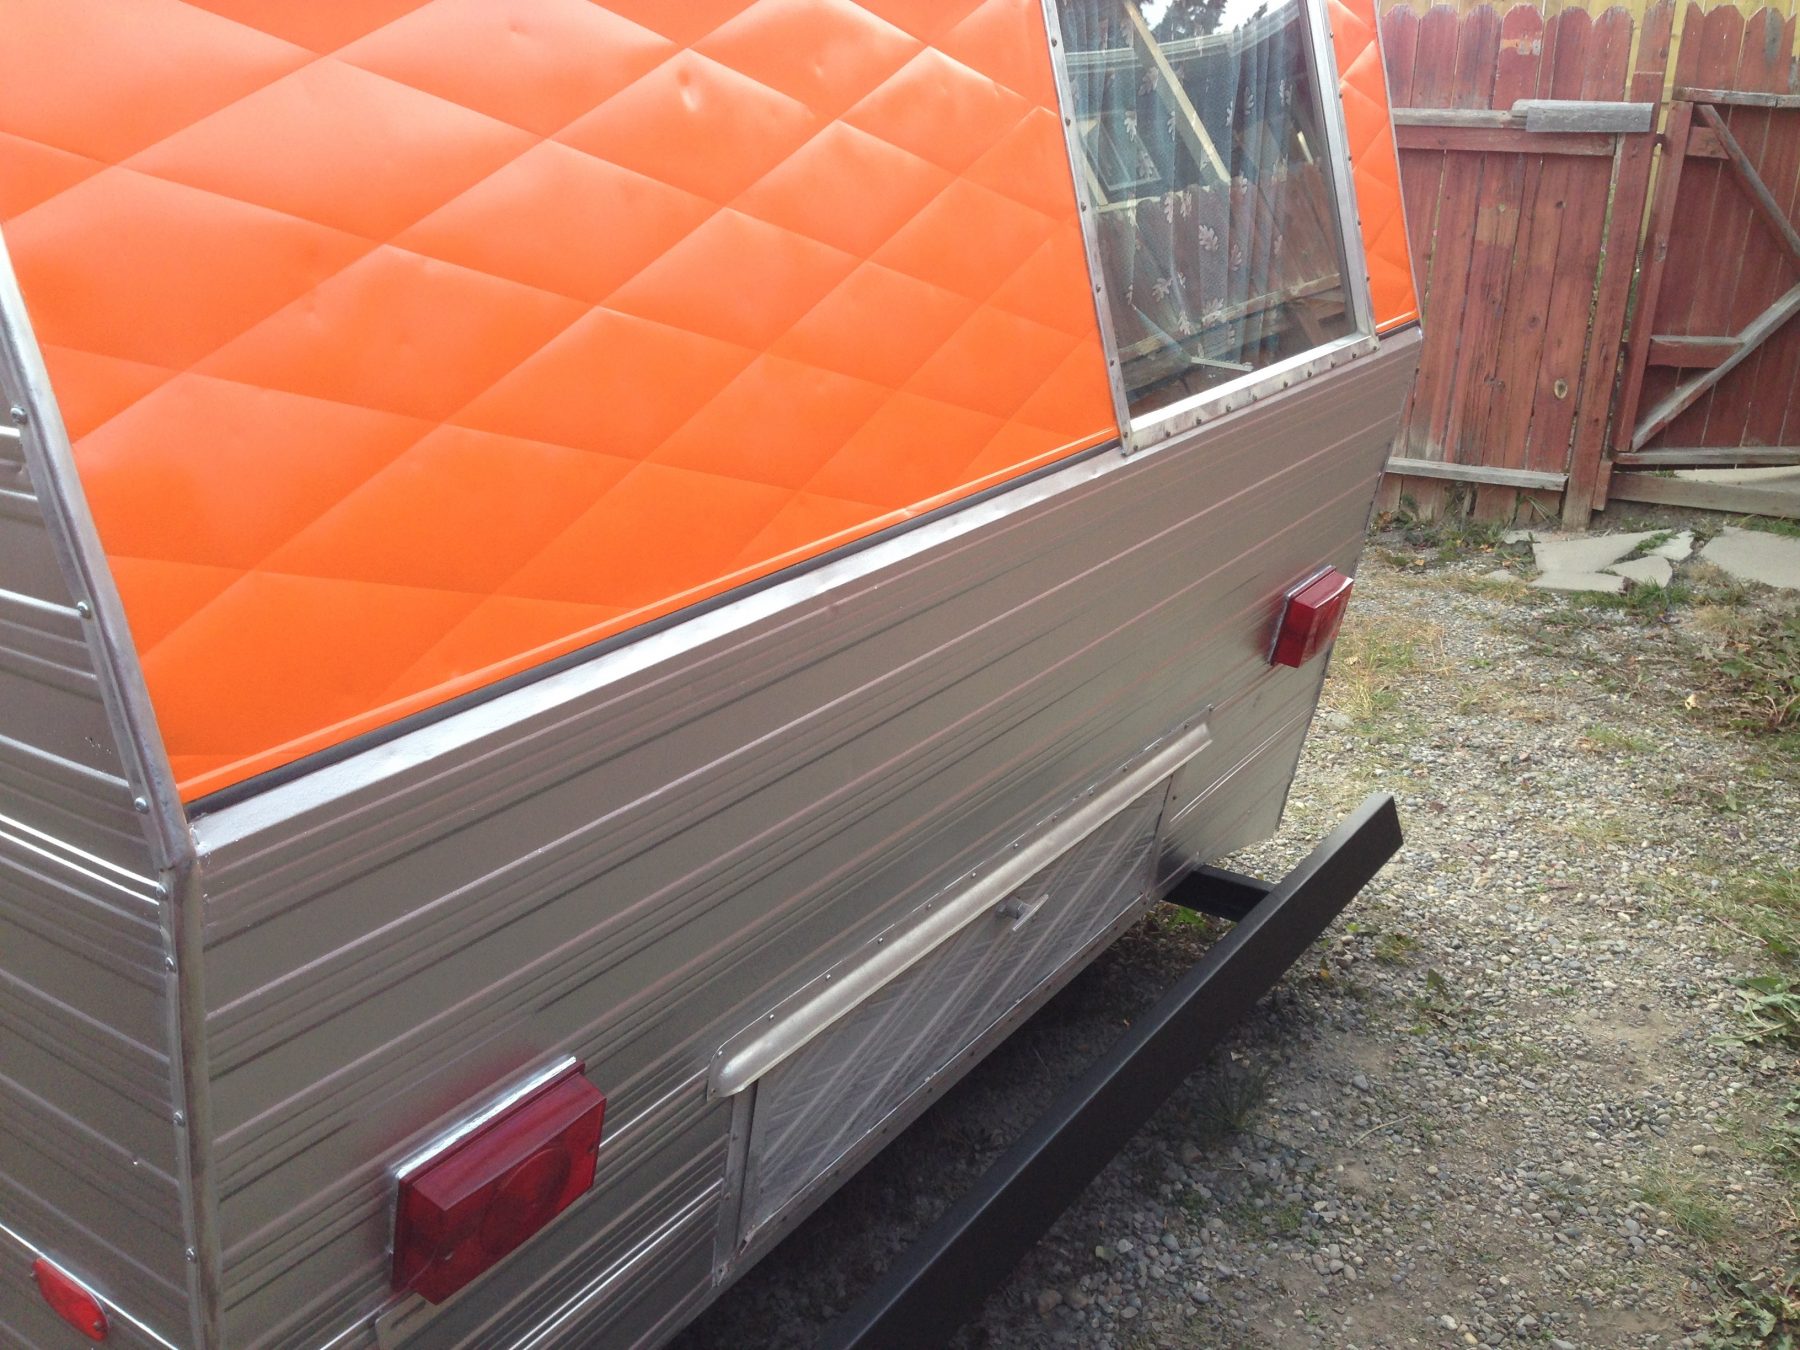
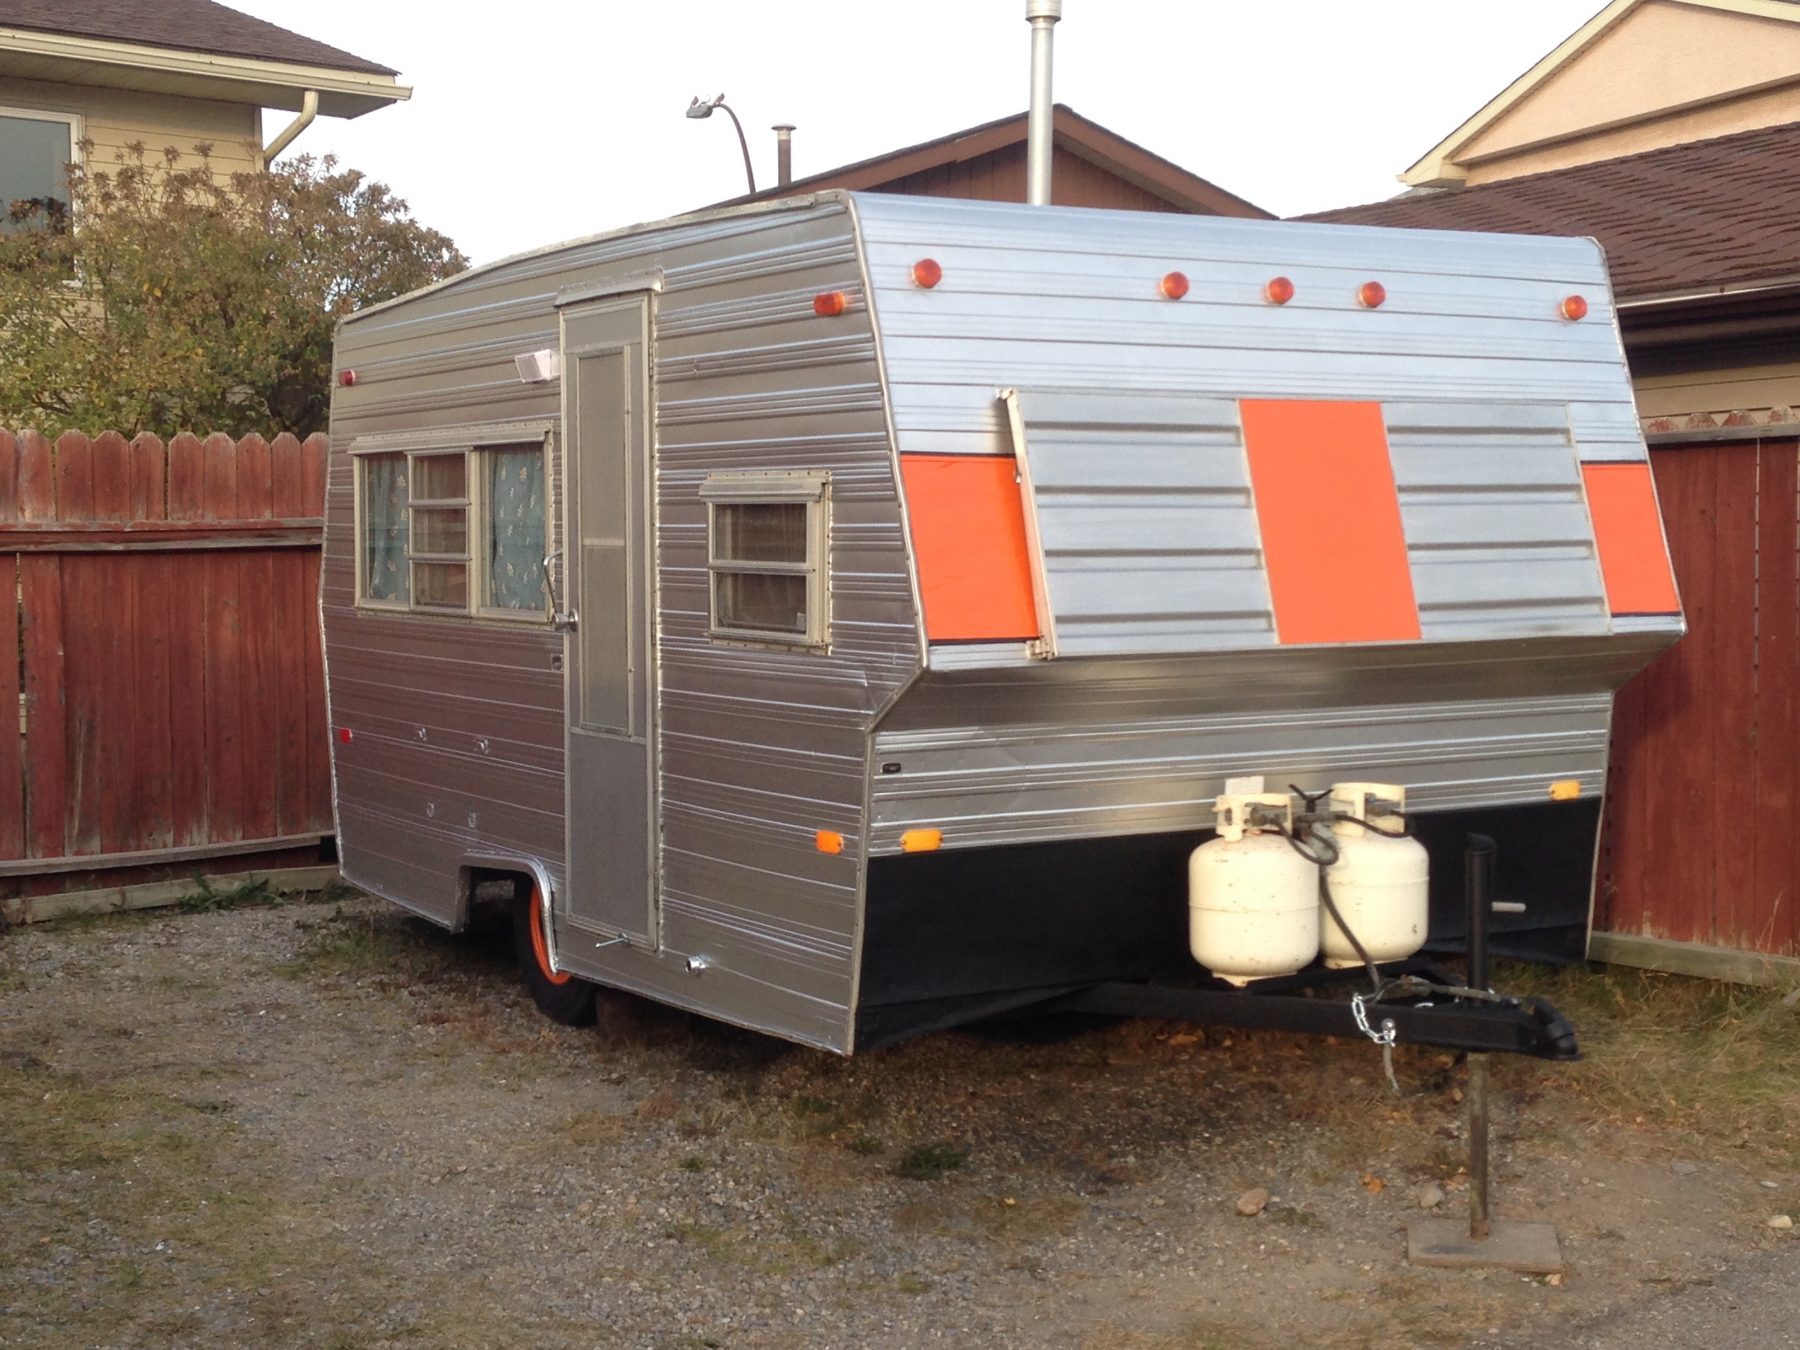
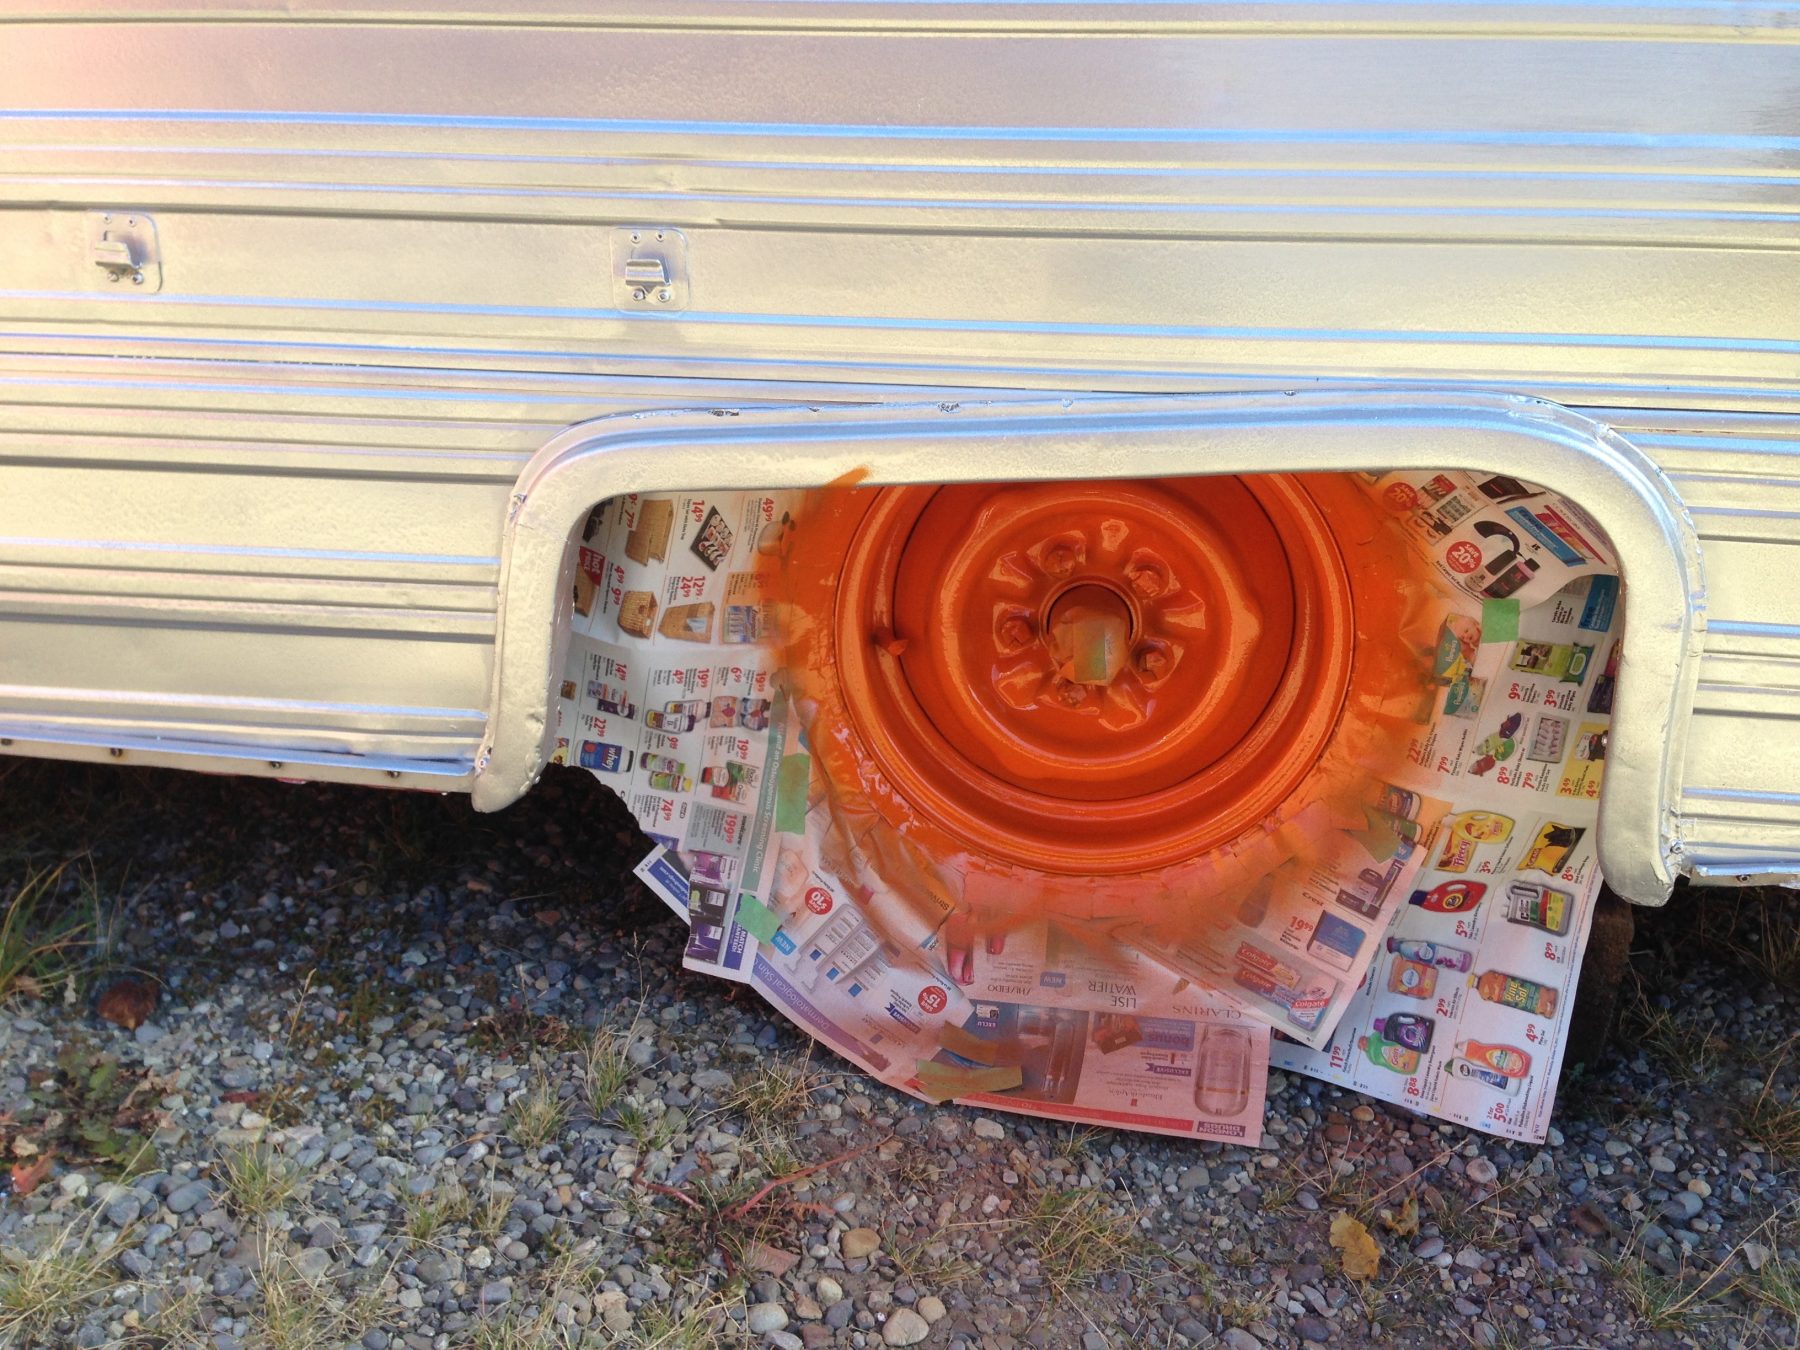
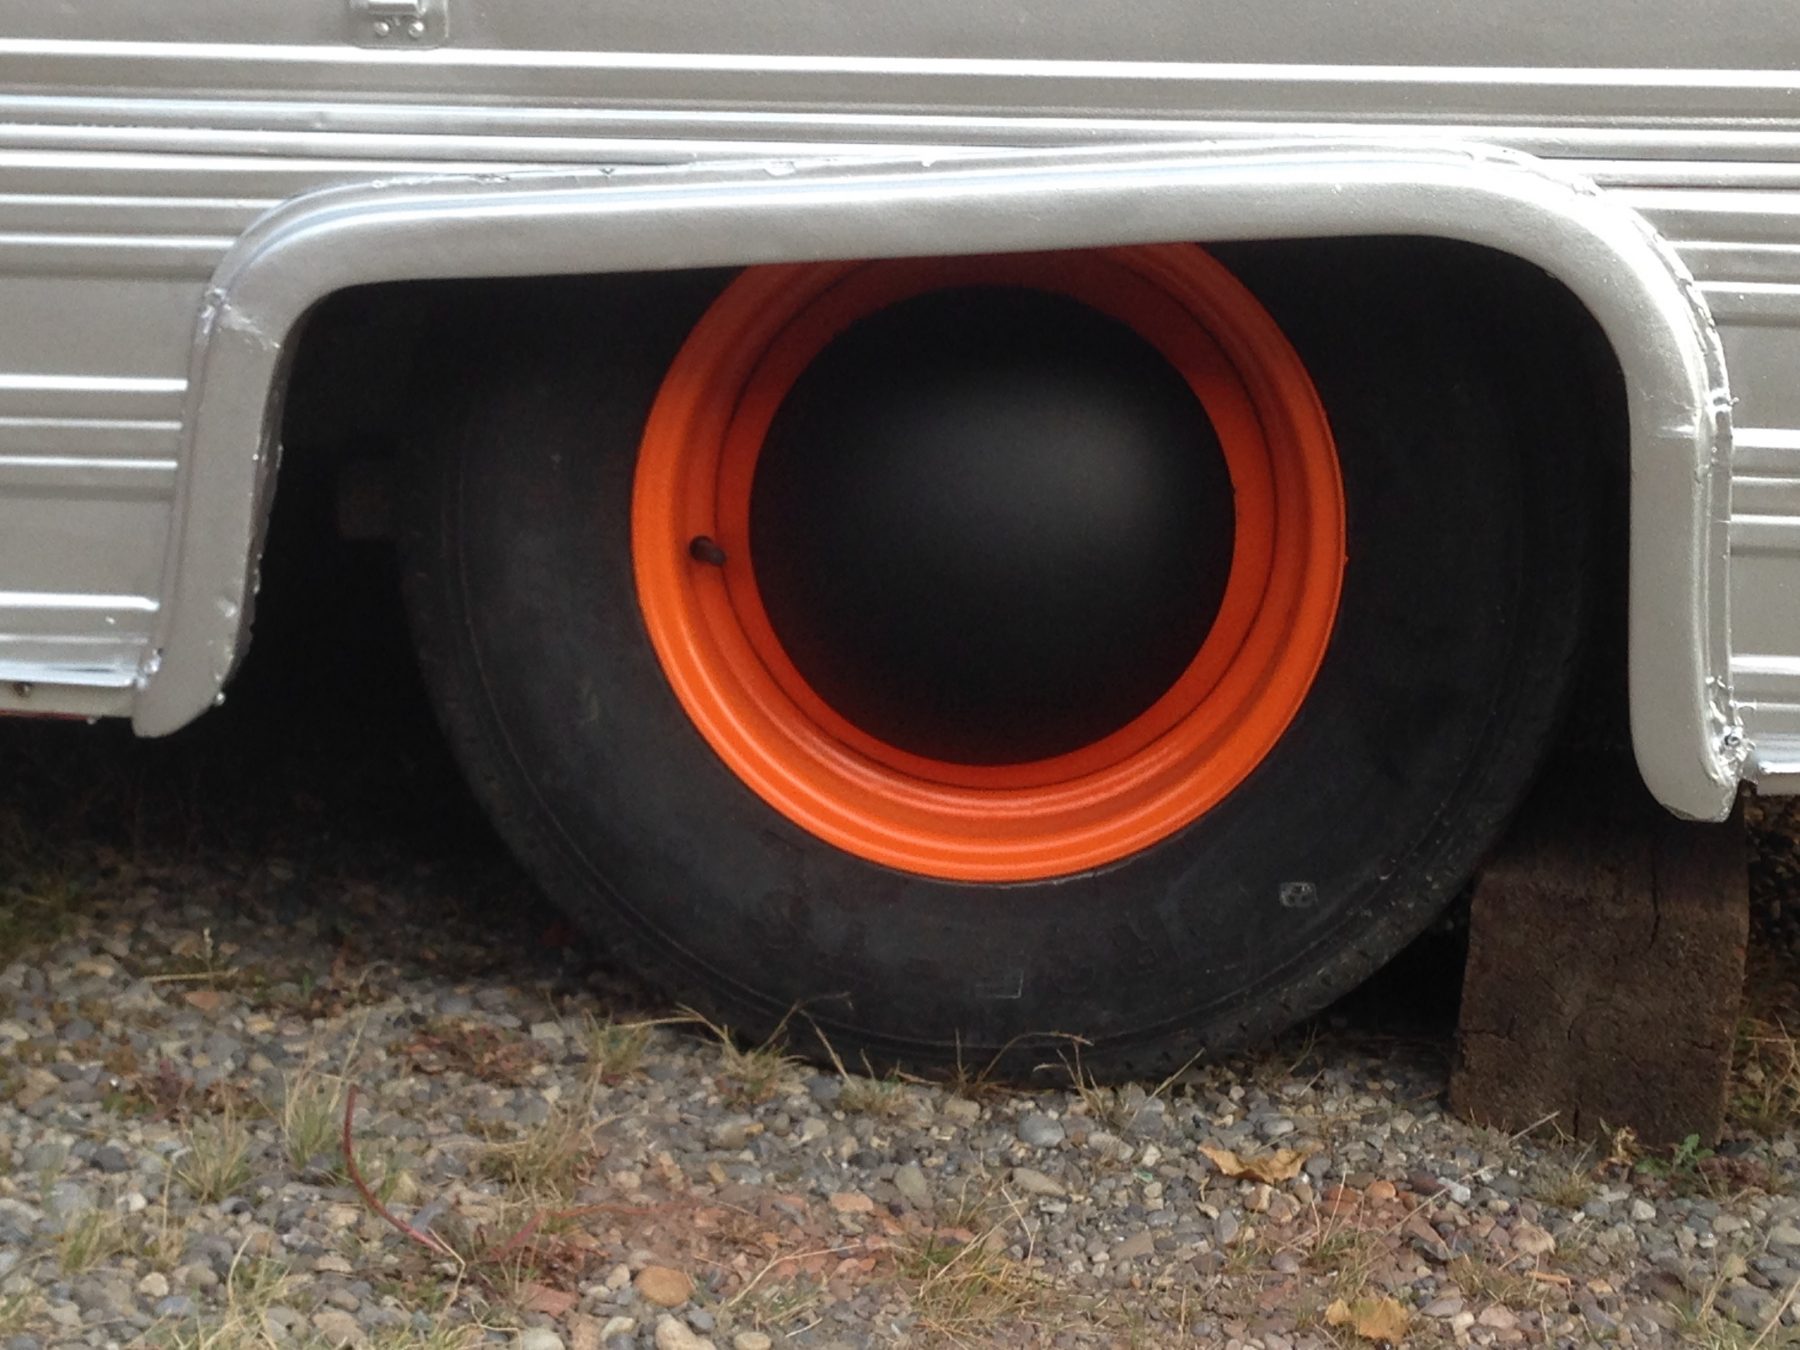
Once fall ended and winter crept in I was and still am at the mercy of the temperature gods. It’s dark by 4-5PM so nothing is happening after work during the week and I’ve been waiting for weekend days when the temps are above zero. It’s been a slow process but that said I’ve also had more time to get other things done NOT related to the trailer. On those days that I could get out there things have been coming together.


  • Replaced most of old fibreglass insulation with foil lined foam panel insulation, re-using some of the still good fibreglass stuff in certain areas.
  • Loosely planned the redesign of the front area.
  • Installed one box of vinyl laminate flooring in the “foyer”.
  • Decided on and framed two cabinets with an area for legs, much like a desk. The cabinet by the door will house the spare tire, the one on the left which also hides part of the fresh water tank will house my iMac when traveling.
  • Re-panelled over the framing and insulation with primed hardboard.
  • Found protective foam padding for the inside of the iMac travel compartment.
  • Jigsawed the chair indent and excess wood from workstation counter top and drilled hole for computer cables to go through.
  • Back tracked a bit to run my solar wiring under the panelling through to the battery compartment.
  • Sanded the front shelf and workstation countertop and filled the porous edges of the MDF with wood filler.
  • Re-sanded the edges and primed/sealed the MDF against moisture.
  • Mounted the front piece of what used to be part of the folding top bunk as a storage shelf.
  • Found a mix of cheap wood crates and fabric bins to use as storage on the storage shelf utilizing the full width.
  • Started to trim up my rough panelling job.

So that’s where I’m at as of now. I was going to do more today but woke up with a crazy serious headache, so taking the day off.


Still left to do in the coming two months:

  • Finish installing the trim around the new workstation.
  • Sand, paint and install the front shelf and the workstation countertop.
  • Paint the whole new addition and possibly much of the rest of the trailer interior.
  • Install the foam padding for iMac compartment.
  • Install door to the iMac compartment.
  • Stain the wood crates (cosmetic only).
  • Install led strip light.
  • Repaint and re-install the gawd-awful faux brass RV houselights with new LED bulbs.
  • Take in to RV shop for a new front plug and wiring assessment/checkup. Brake assessment and repair. Axle inspection. Wheel bearings done. Propane line assessment/test. Appliance assessment and test and any repairs to the above.
  • Sanitize fresh water tank.
  • Purchase the rest of and install the solar kit.
  • Find a small piece of carpet for interior by the dinette.
  • Measure and buy fabric for, as well as bribe Pancake’s mom to sew me some curtains that don’t look like they’re from an 80’s kitchen.
  • Install rods and above curtains.
  • Find a memory foam mattress for bed.
  • Apply my WOTR decal kit.
  • Move in!


Also a heads up. I should have started making videos the day I bought this old beast but I didn’t. I just really didn’t know there would be any sort of demand for what I would have to say about “learning” to fix one. That changed yesterday as I figured “better late than never”. I’ve got a plan for my WOTR Youtube channel that will incorporate the RV stuff in with the travel and photography stuff just like here. I also have a few tricks up my sleeve to make my channel a little different and a lot of fun. Once I have it all together I’ll let you all know.

Next weekend is supposed to be up around 10 degrees and it’s a holiday weekend. I’m hoping to have the rest of my trim done, counter and shelf installed and my screw holes filled and sanded, all ready for paint. Fingers crossed.

After that it goes into the shop to get the wiring, propane system and appliances checked and fixed.

I’ll keep you all posted.

W.

Other Journal Posts To Check Out